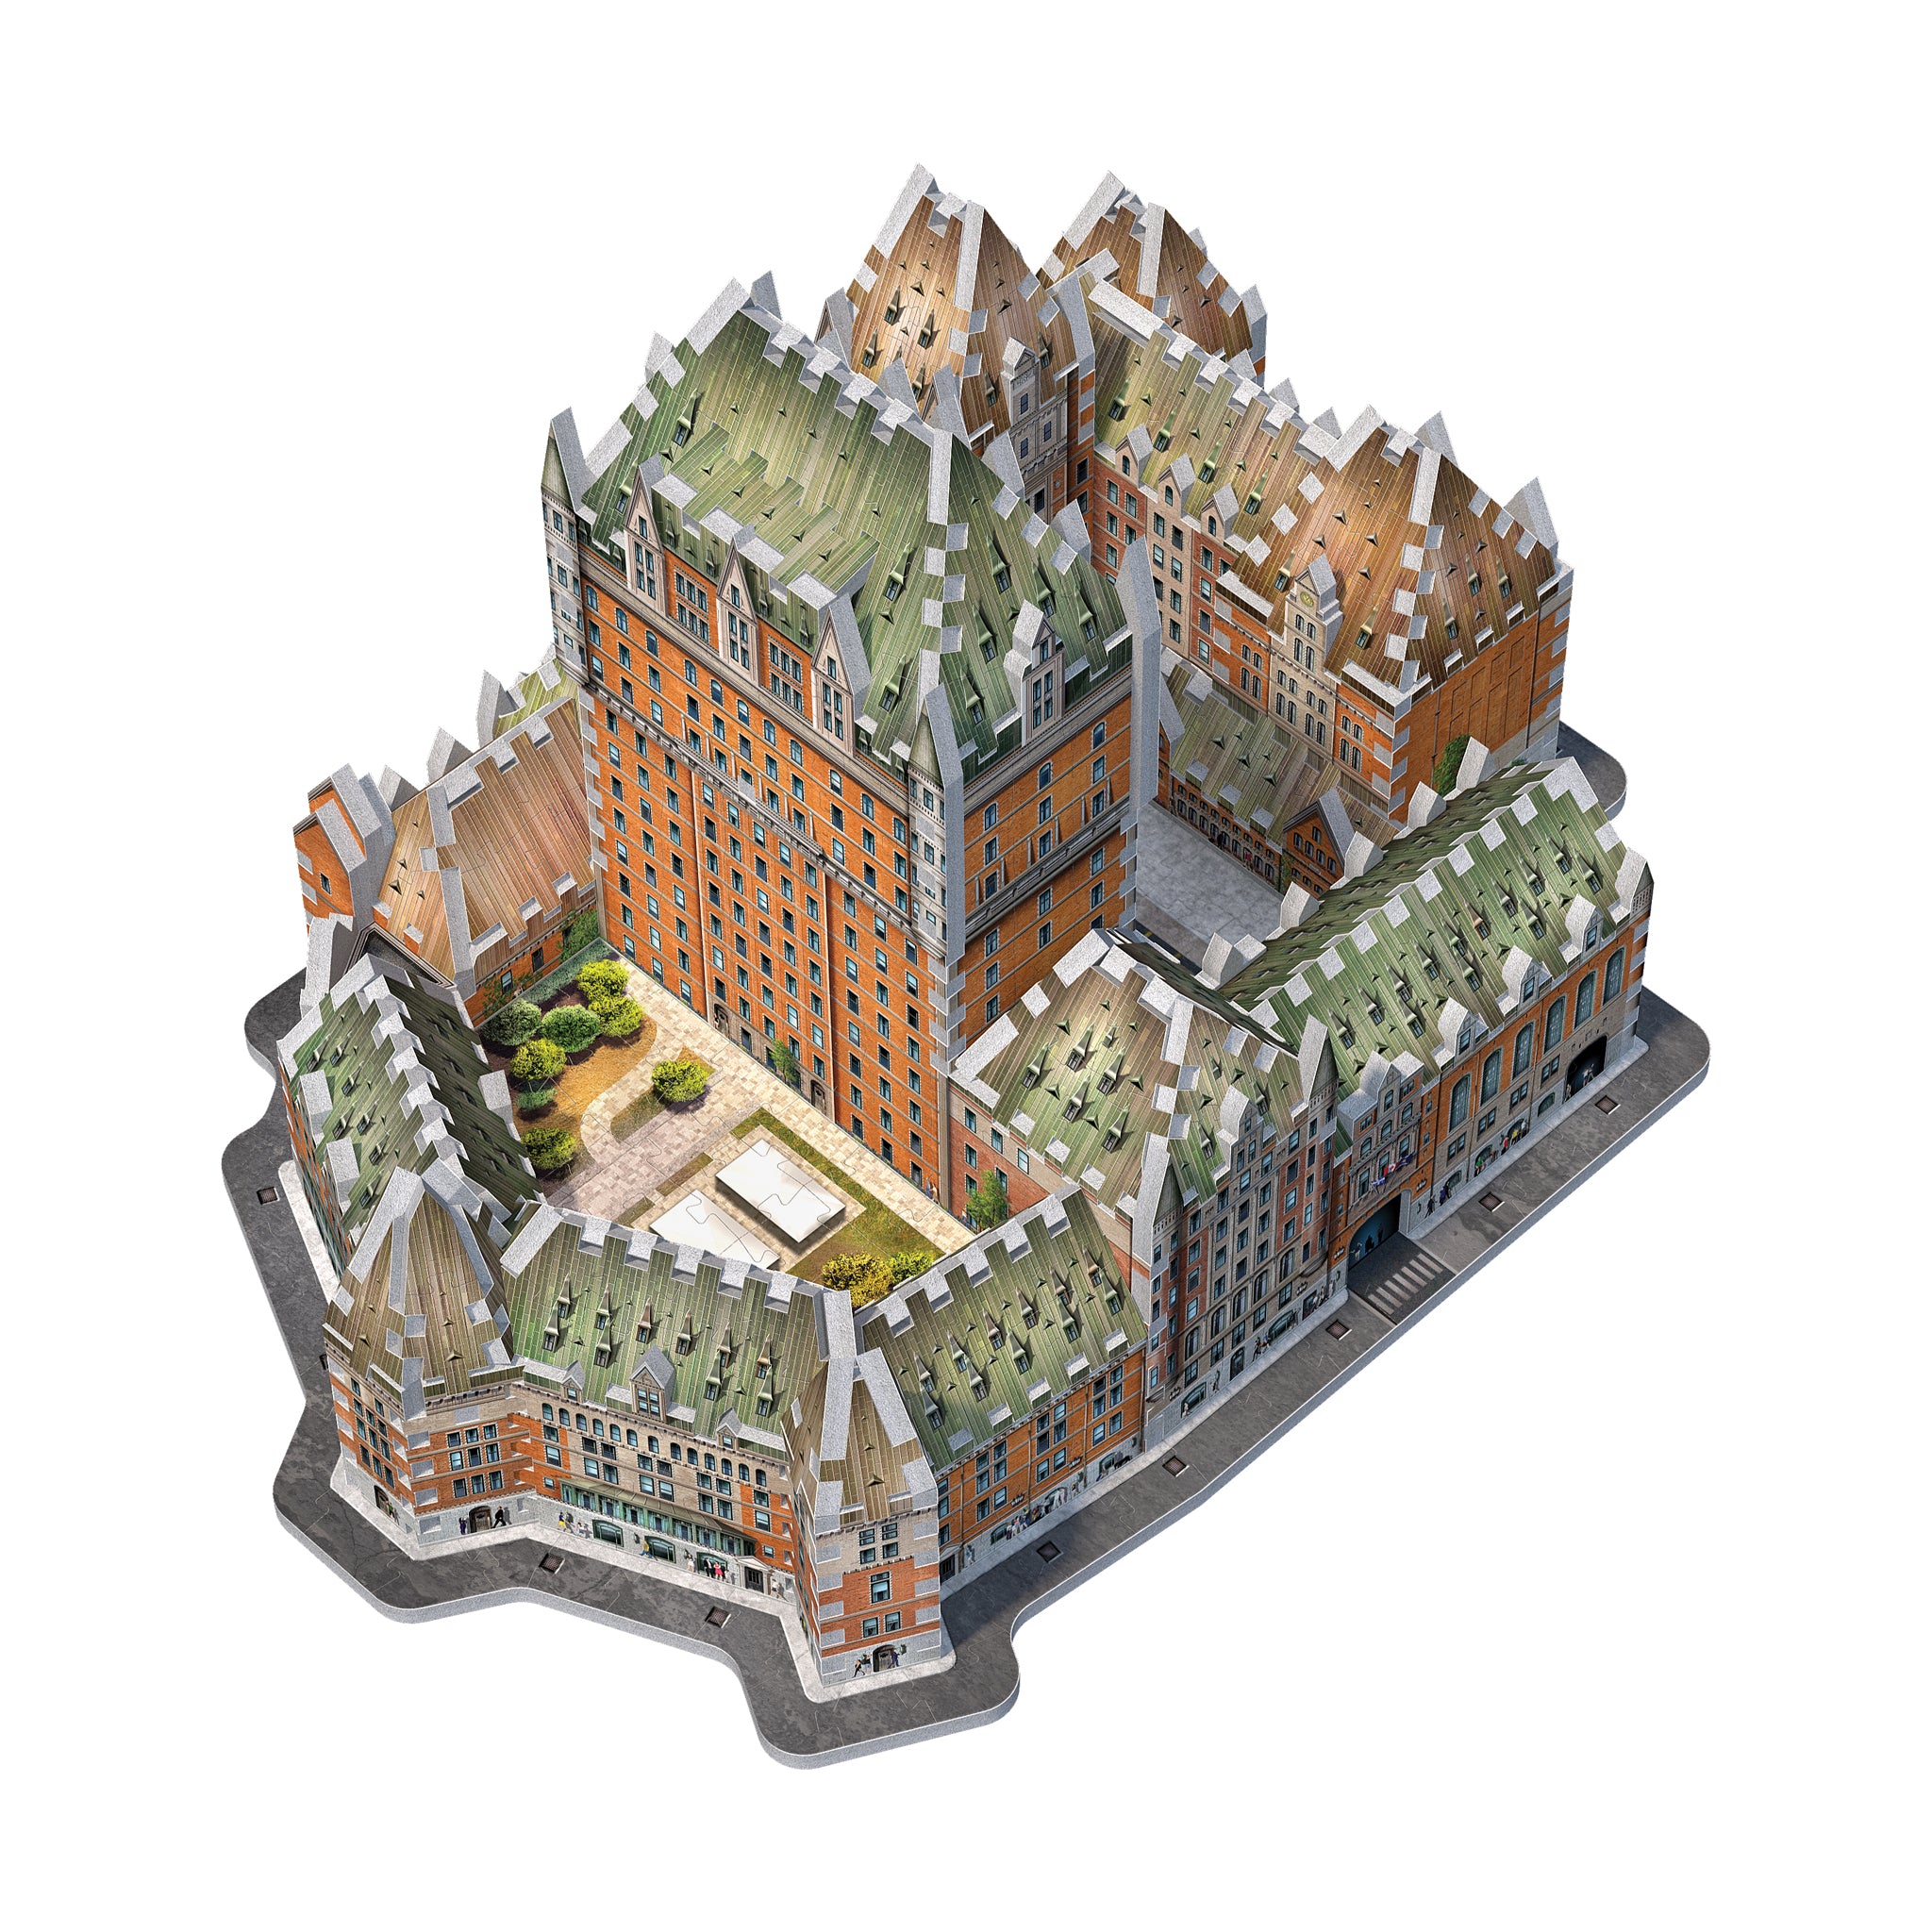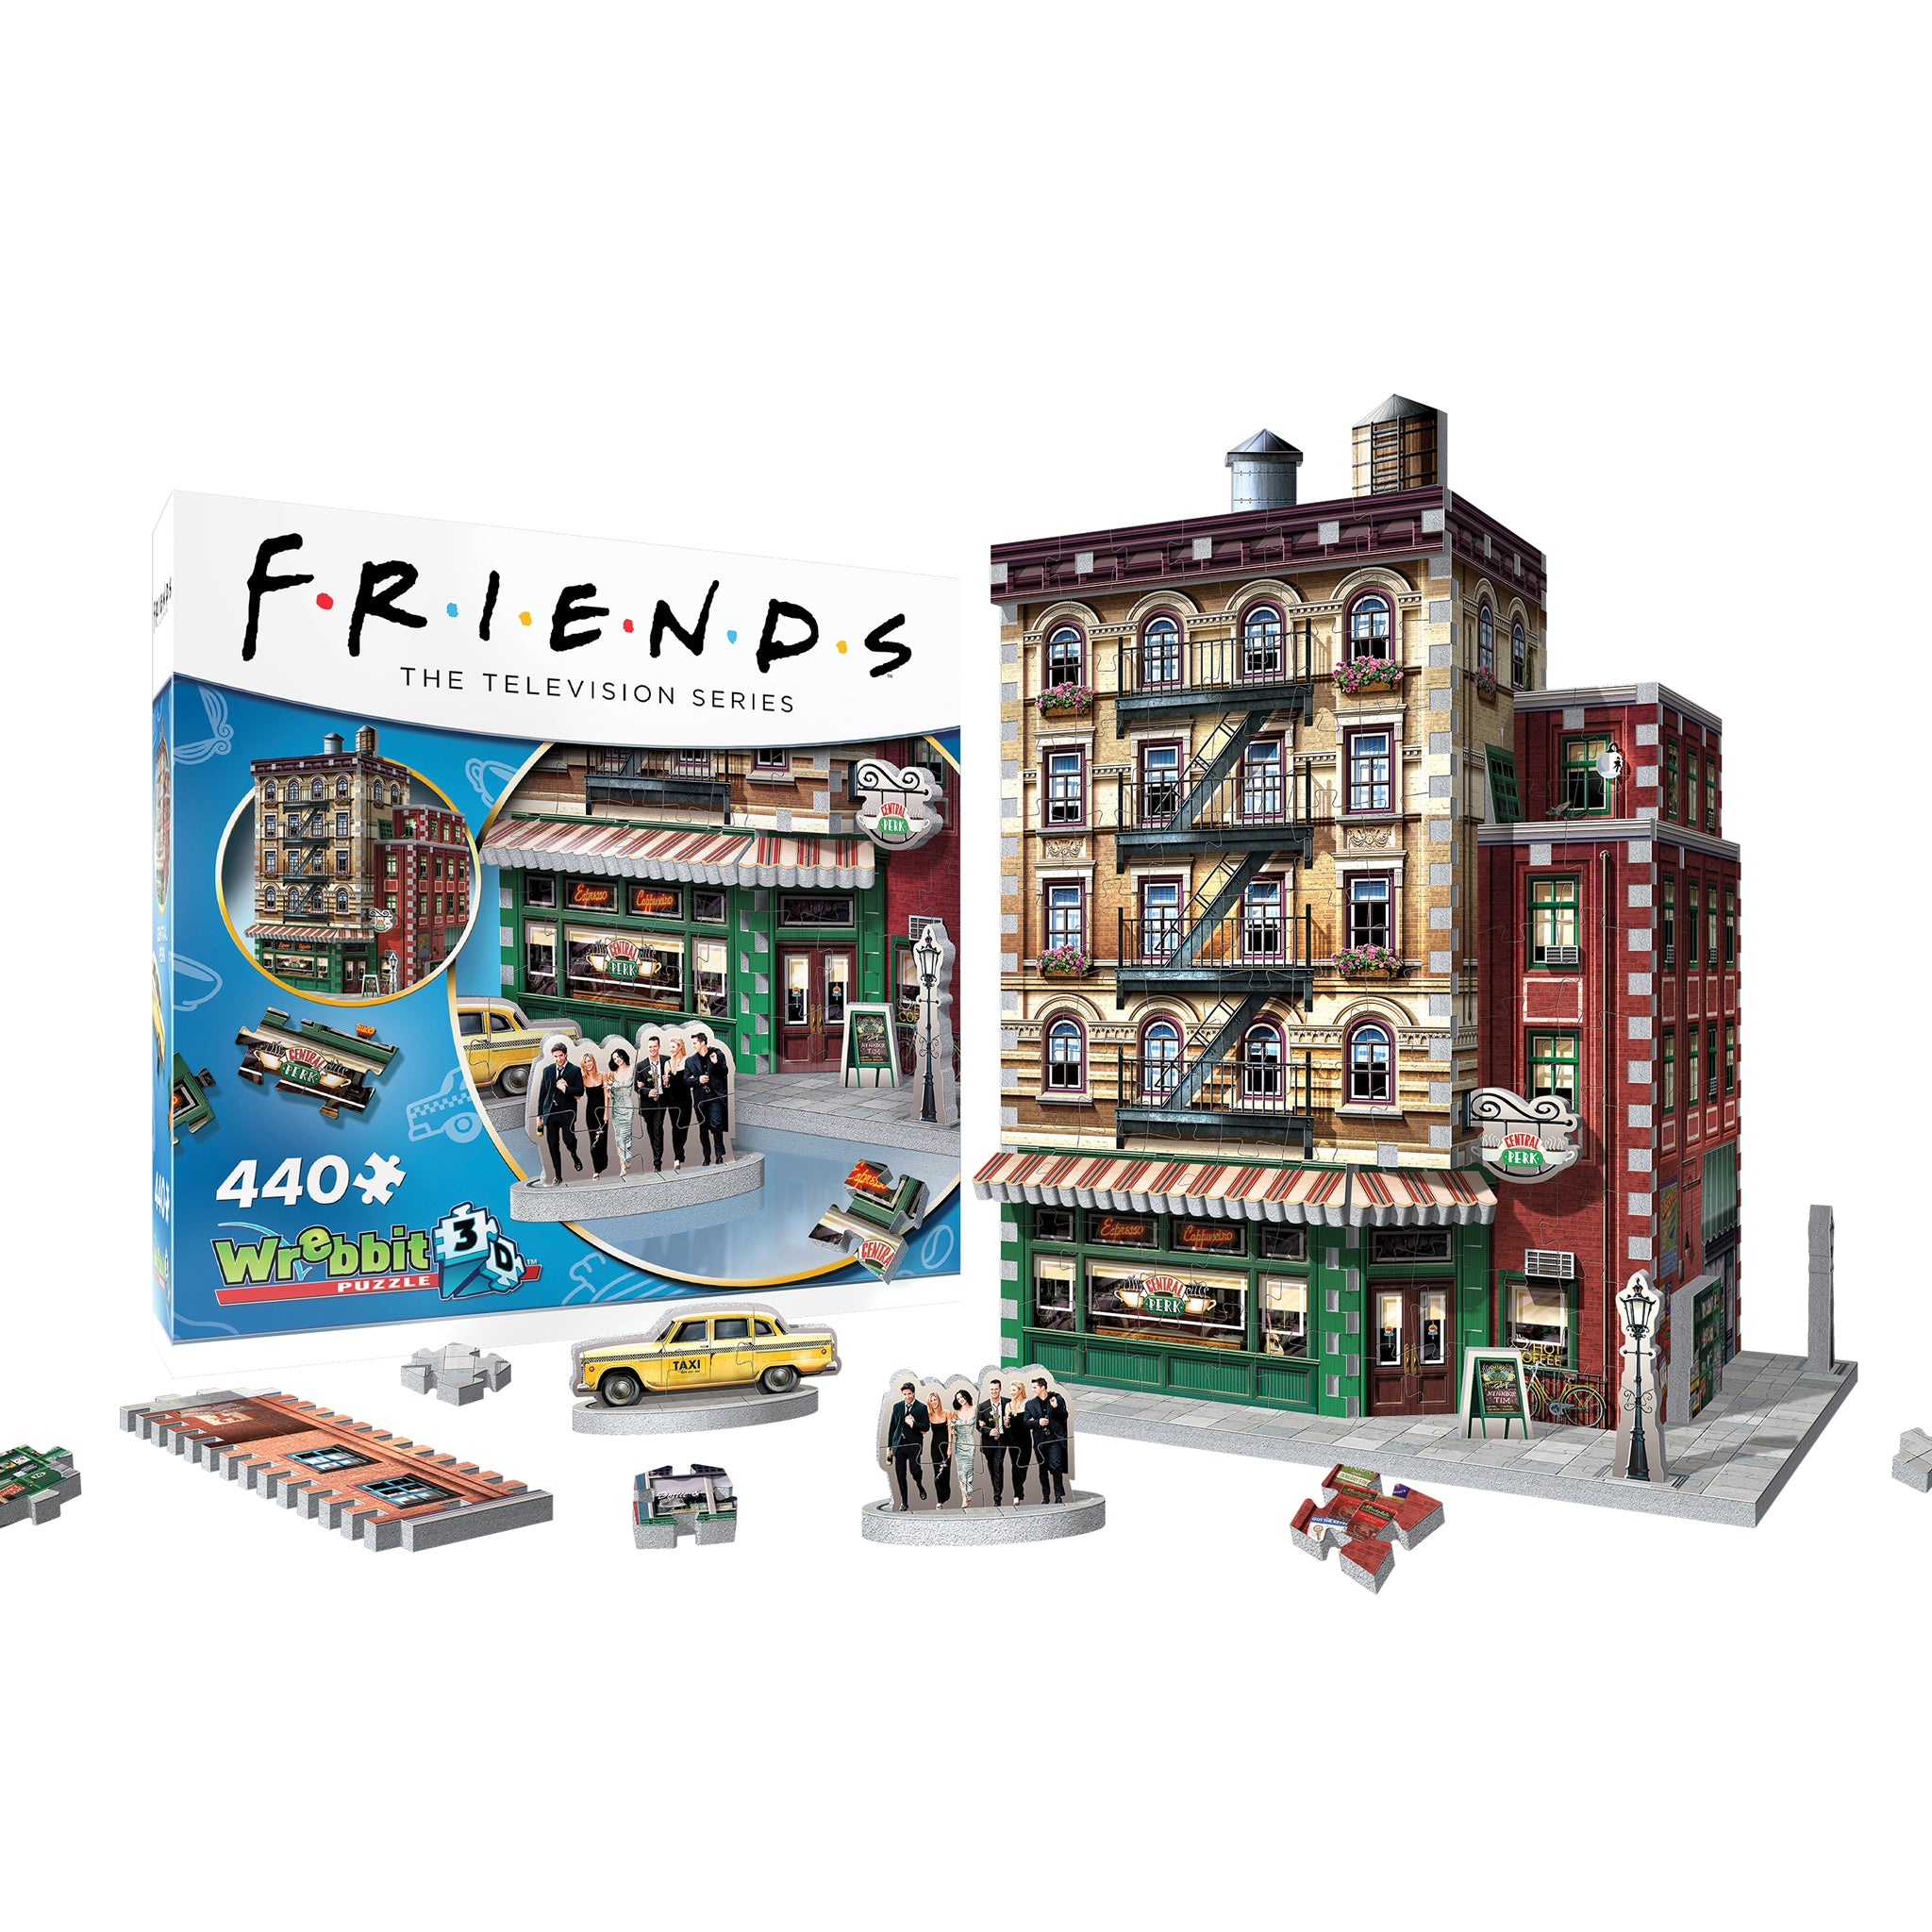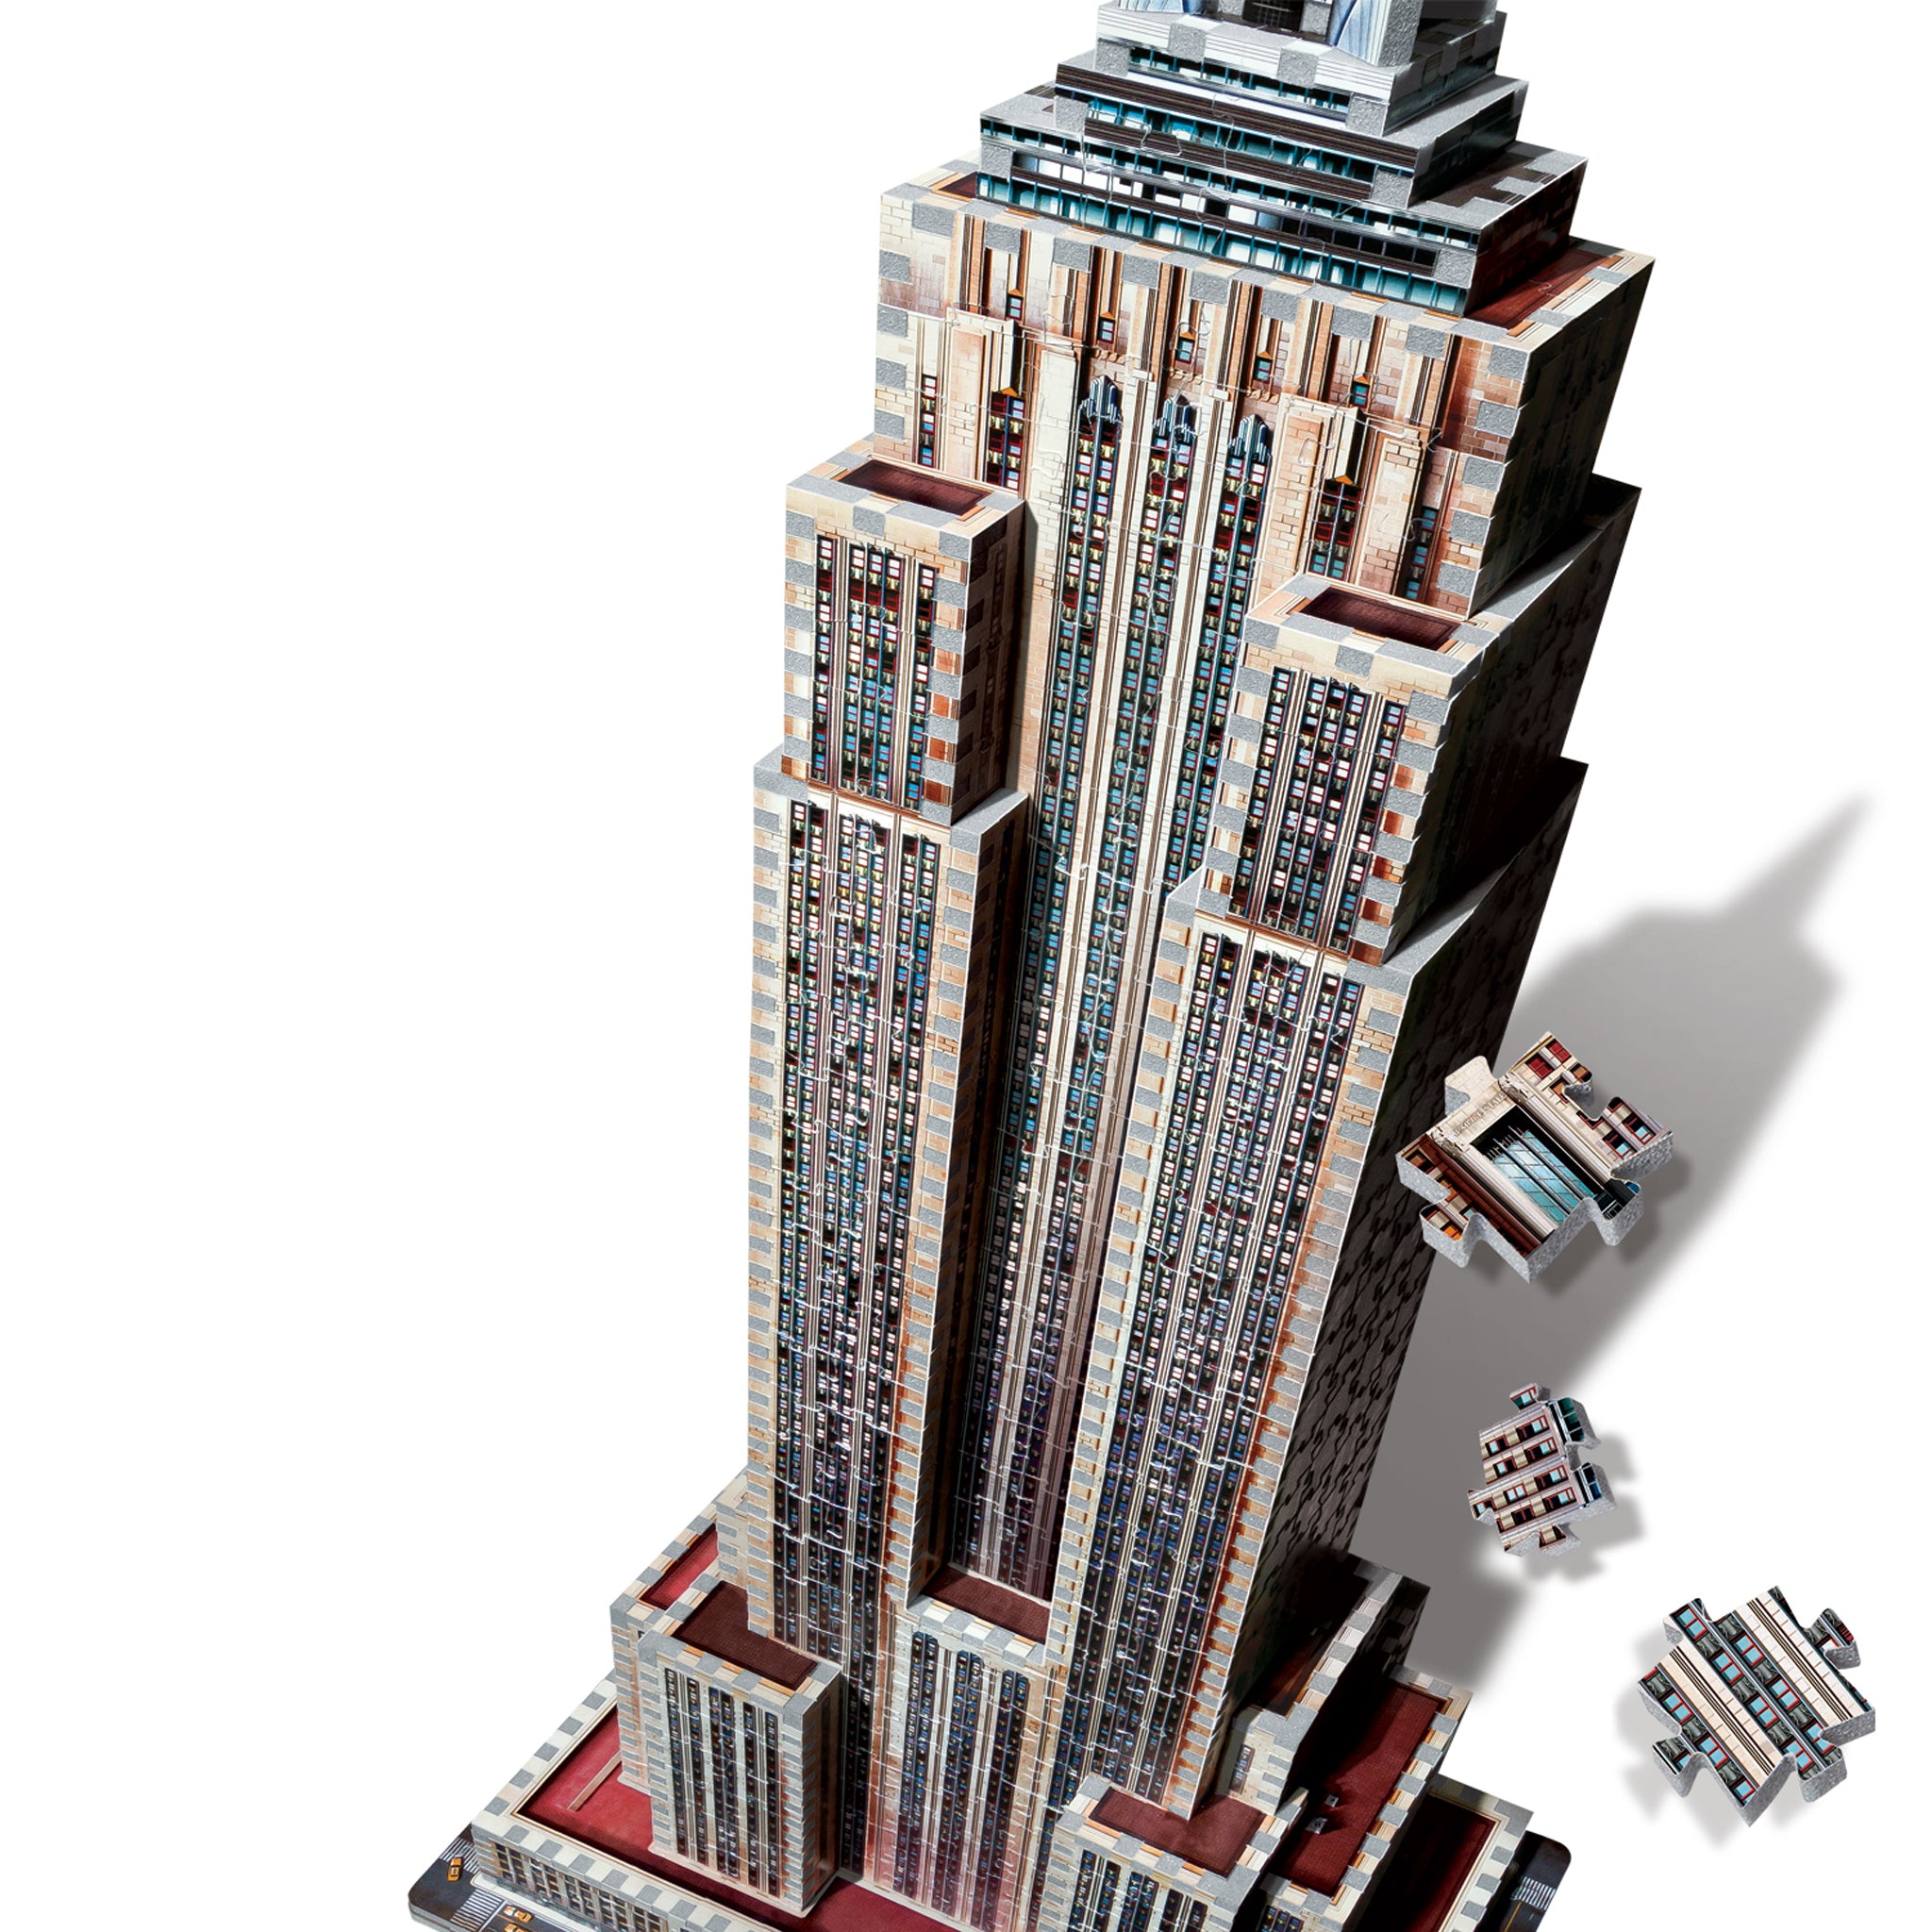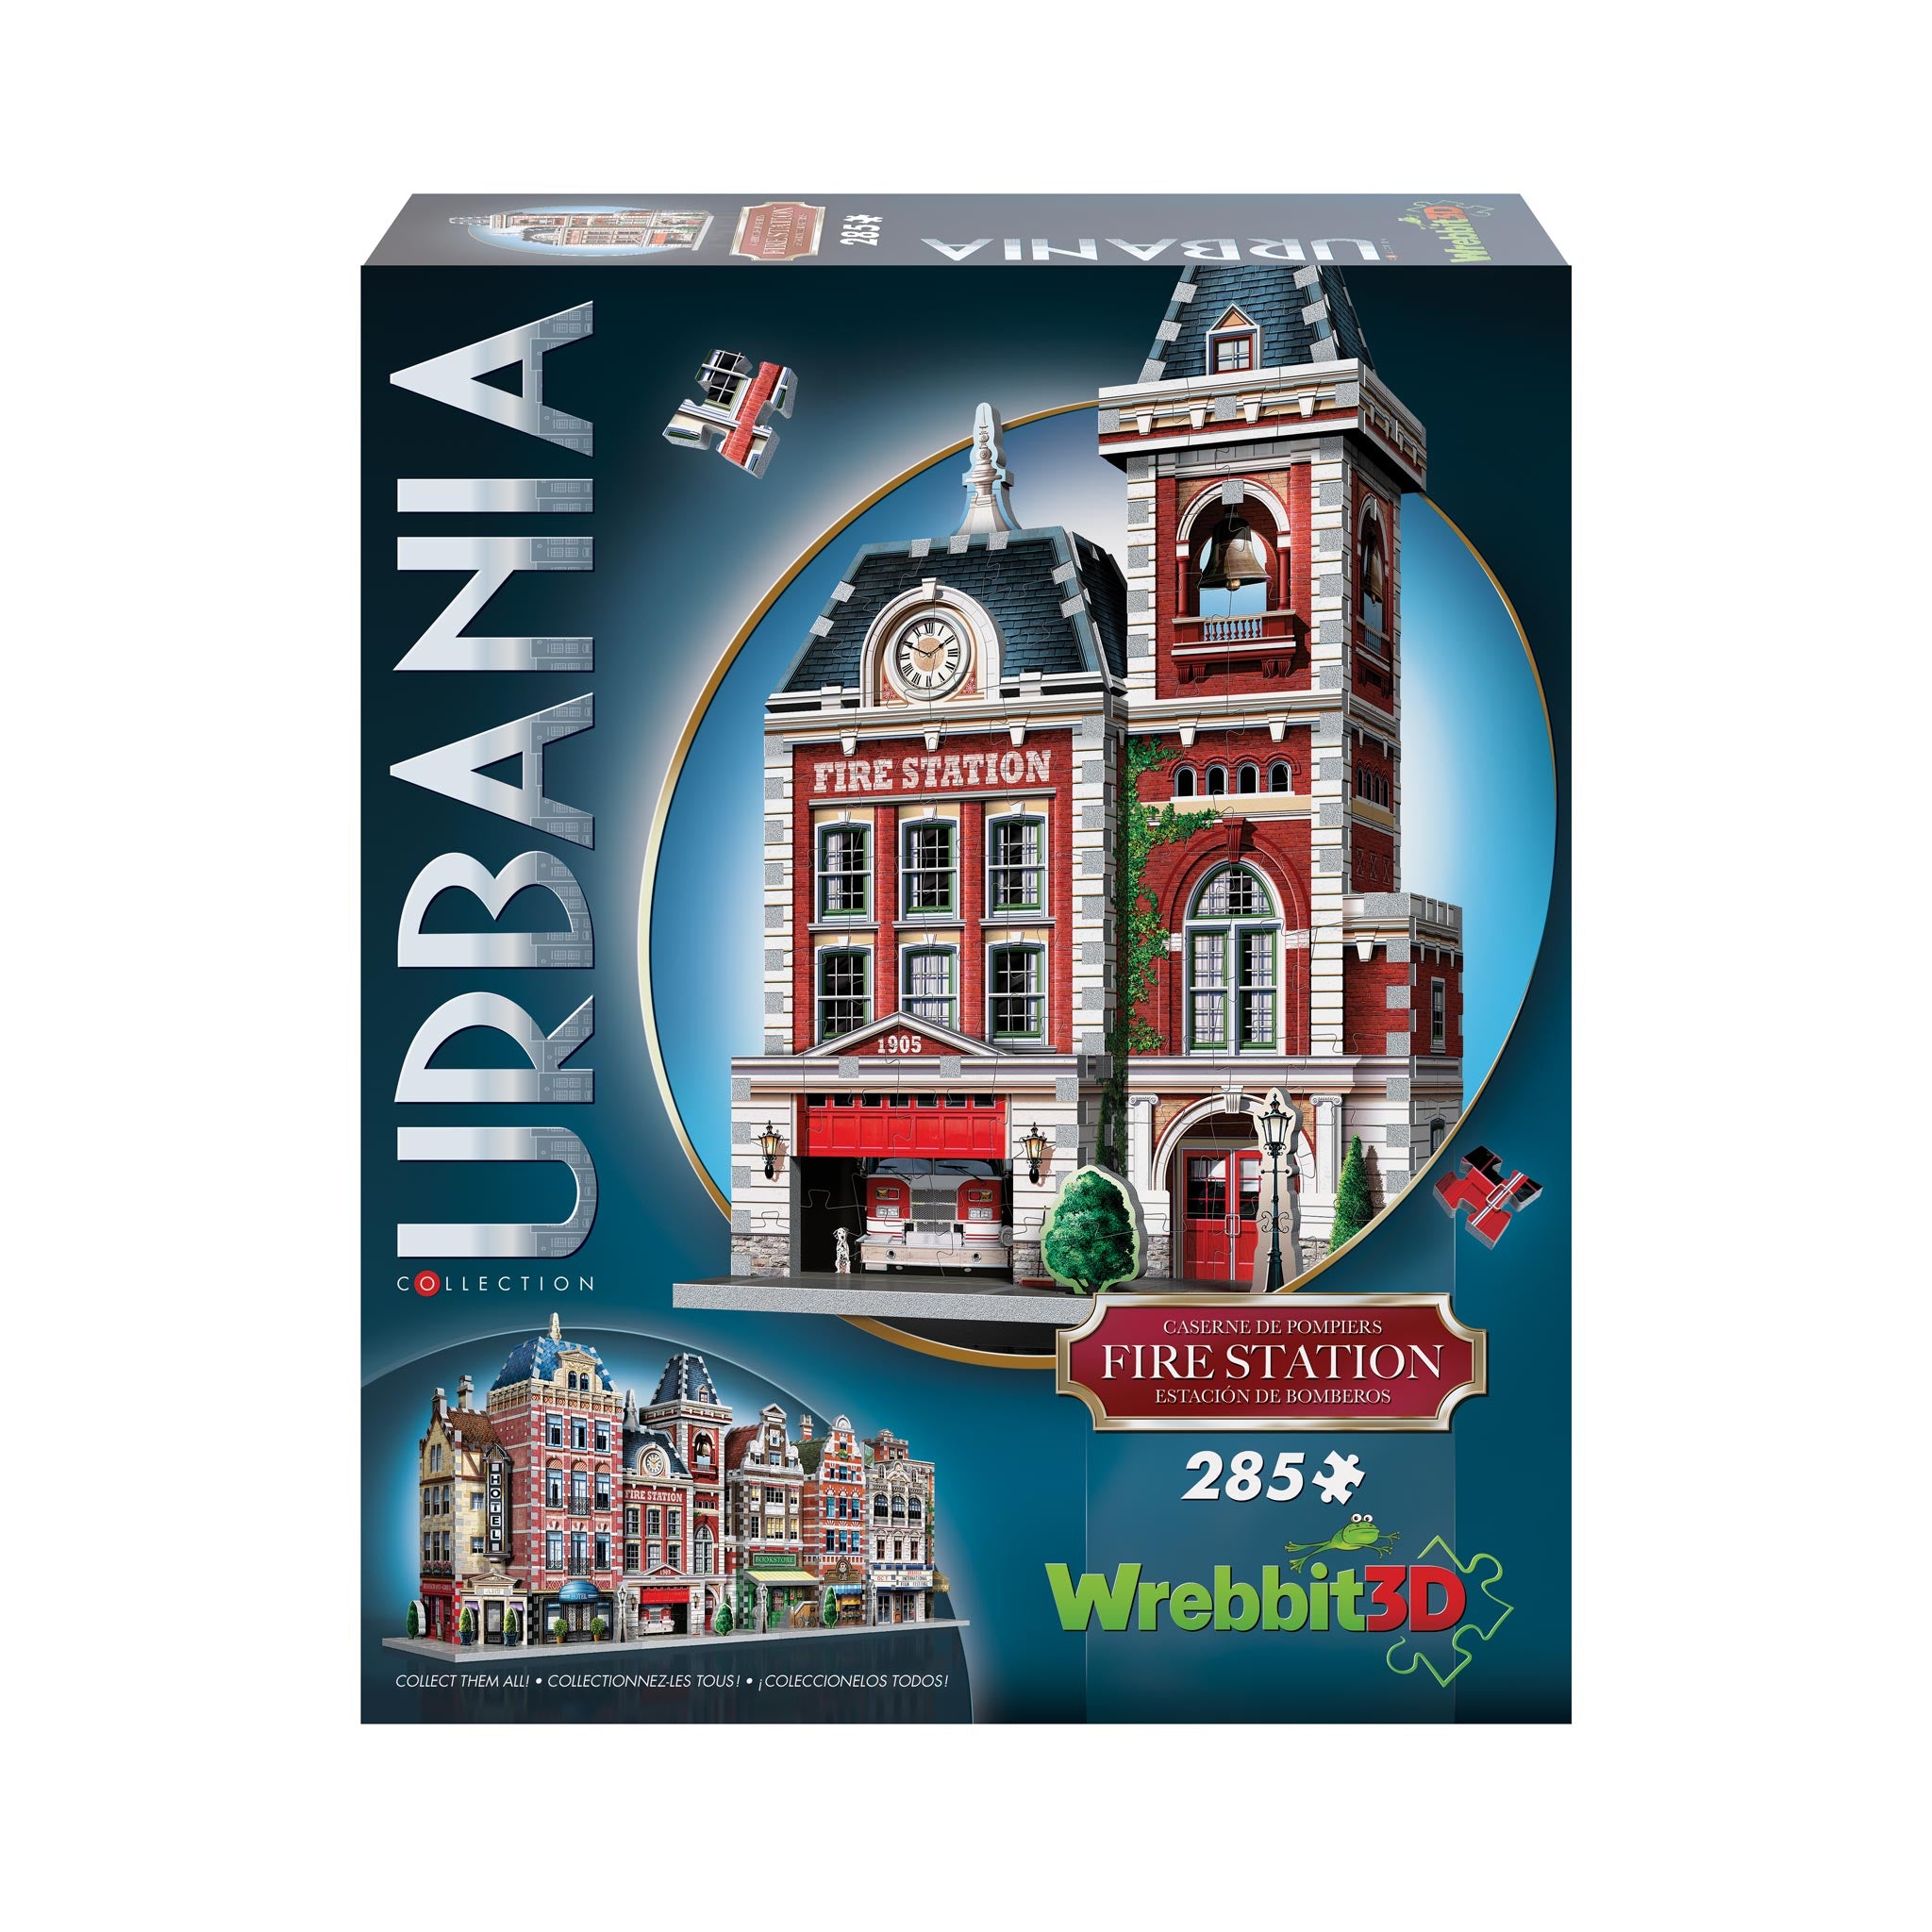
Building a 3D jigsaw puzzle is pretty straightforward: take all puzzle pieces out of a box and with the help of the reference images provided on the box, assemble them into several distinct sections. Once they are all completed, follow the instructions and join them together in 3D.
Today, we’ll take a closer look at the basics to make sure you get off on the right foot: sorting your puzzle pieces.
It’s probably the least favourite step in the process, the one some may refer to as the ‘let’s-get-on-with-it-so-I-can-assemble-my-puzzle-like-now-now’ step. While we understand the excitement of starting a new project and the anticipation of building something beautiful and impressive, the sorting phase is an important one. Cutting corners here might seem like the quicker option, but ultimately, it may slow you down and cause unwanted effects on you and other participants like frustration, headaches and even words intended for a mature audience only. But taking the time to properly sort your puzzle pieces at the beginning of your project can have a big impact on your assembling speed and overall experience. Being methodical goes a long way!
Sorting boils down to putting your puzzle pieces in different categories. In other words, the more categories you have, the easier it gets to make your way through your workspace and find THE puzzle piece you’re looking for. So, let’s look at a few different aspects of a puzzle piece that can help you categorize them.
1- Colours
It’s pretty self-explanatory and simple. Create one category for every colour found on your puzzle. Gray? Over here. Red? That’s with the others. Green? In a small pile over there. Some 3D puzzles, due to their specific design, might have similar colours and hues. Separate them as best as you can in distinctive categories as well. Brown, brown-ish, browner, light brown works fine. Or wake up the paint colour enthusiast sleeping within you, go crazy and have some fun! Roasted chestnut, amber, midnight brown, burnt wood… You get the drift! As long as you and your puzzle buddies understand each other, it’s all good.

2- Illustration
Look at your puzzle pieces and find particular elements to help you sort them. Some can be easily recognizable like windows, leaves, bricks, flowers. But others might be more abstract, like straight lines, fuzzy pebbles, swirly thingies, preventing you from discerning their exact position on your 3D puzzle. Stay calm and sort them as well with similar ones. They’ll reveal their true purpose later on.
3- Shape
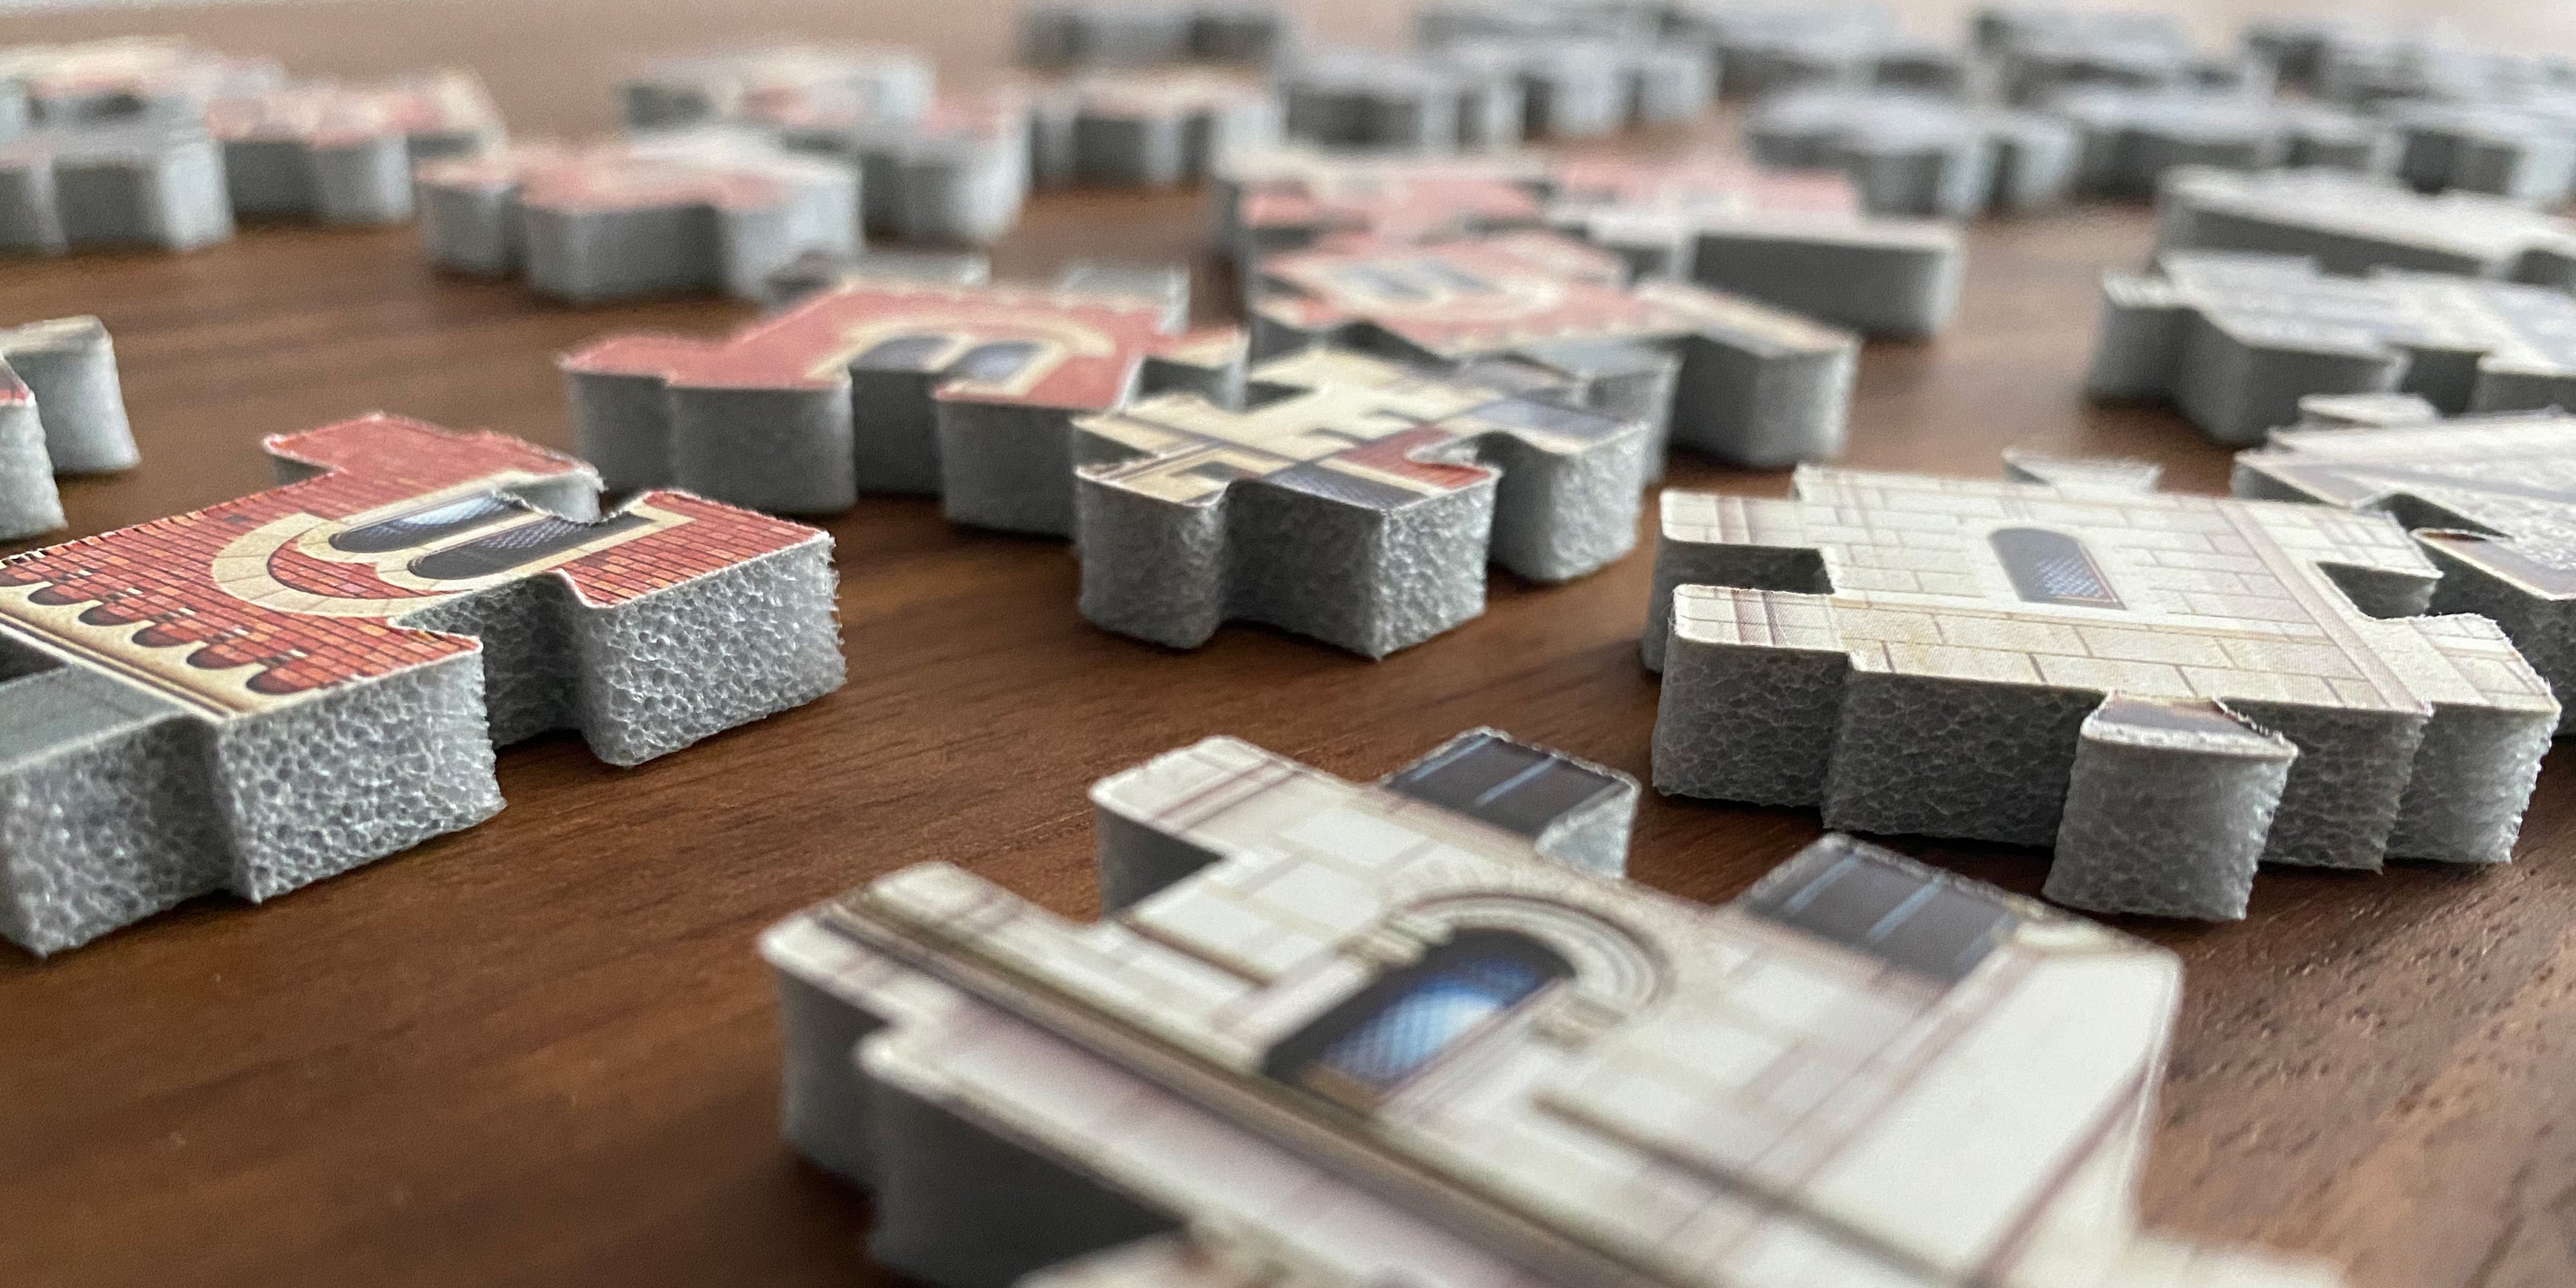
With a regular jigsaw puzzle, the pieces with a straight edge form a single outline, the proper border of your puzzle. Since a 3D jigsaw puzzle is made of multiple small sections assembled together, these sections will be composed of pieces with straight edges, tenon or mortises (a.k.a the regular square shapes and gaps). Pieces with only loops and sockets or keys and locks will form the inside of some sections.

4- Subcategory
Examine your current categories and see if they can be broken down into smaller connecting groups. Some windows have yellow curtains and others blue? Sort them. Some cobblestones are clean while others are mossy? Sort them. The bricks are either plain or with a gutter or gray foundation? Sort, sort, sort.

5- Details
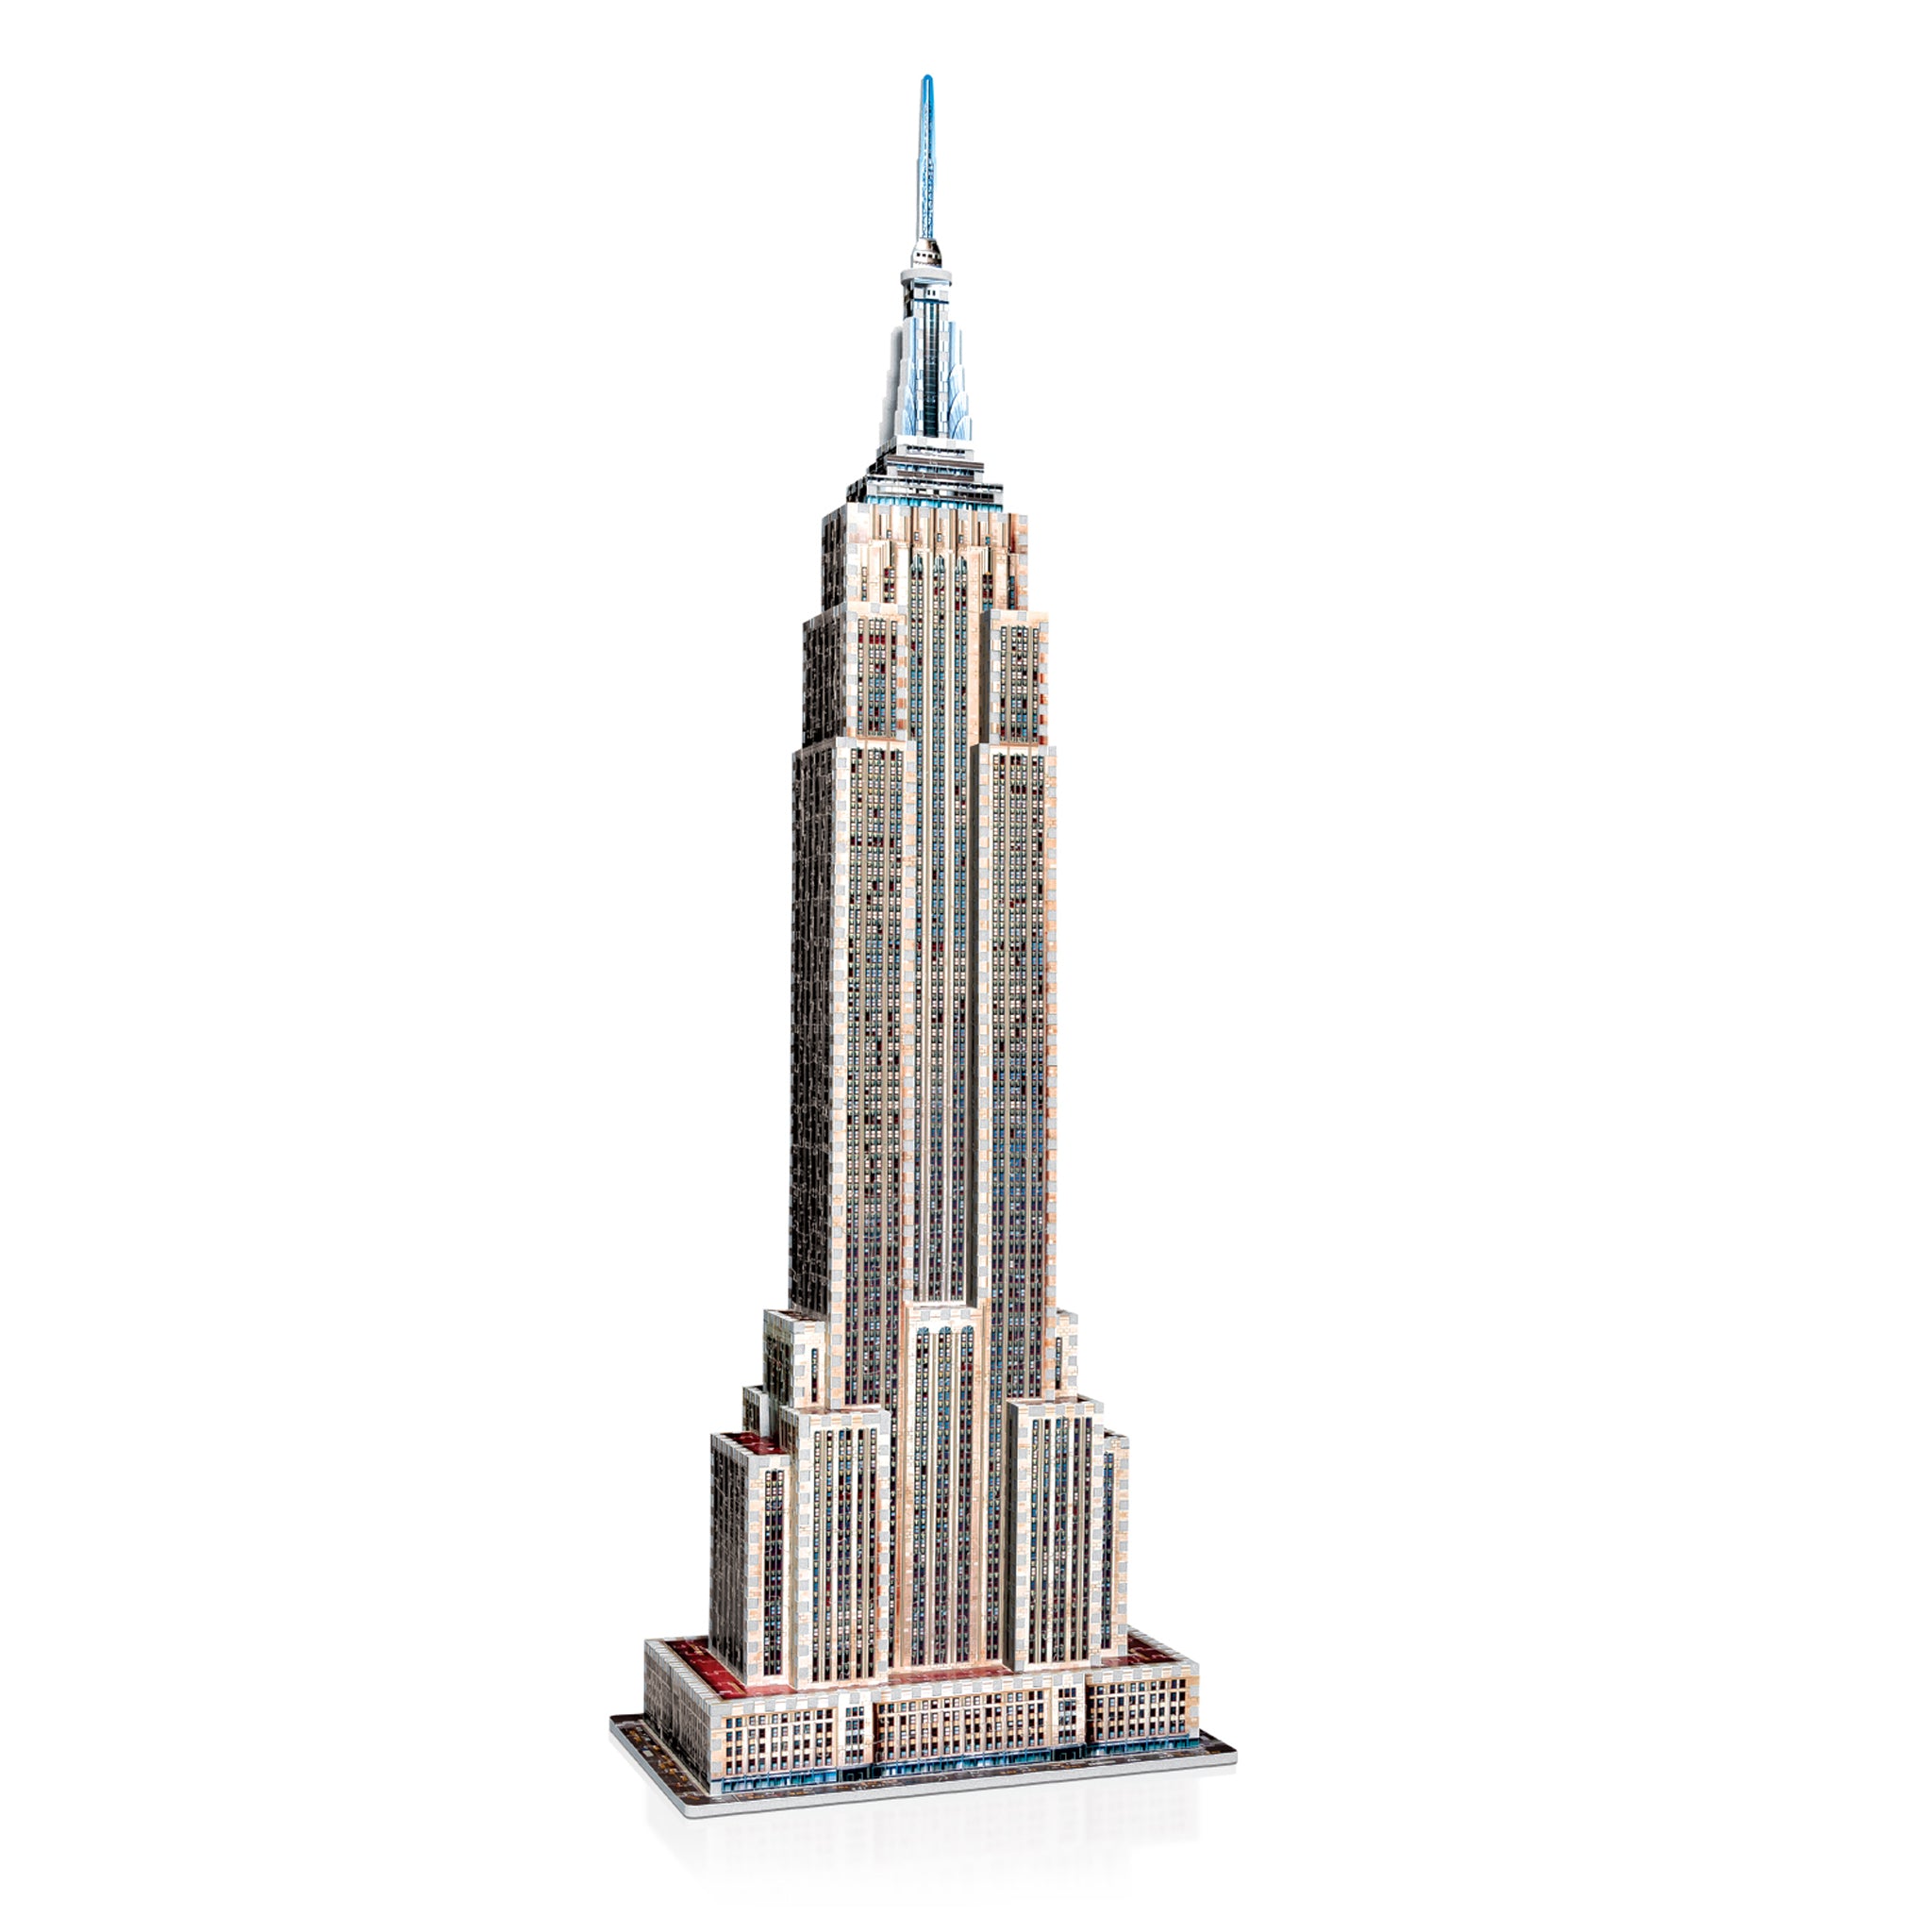
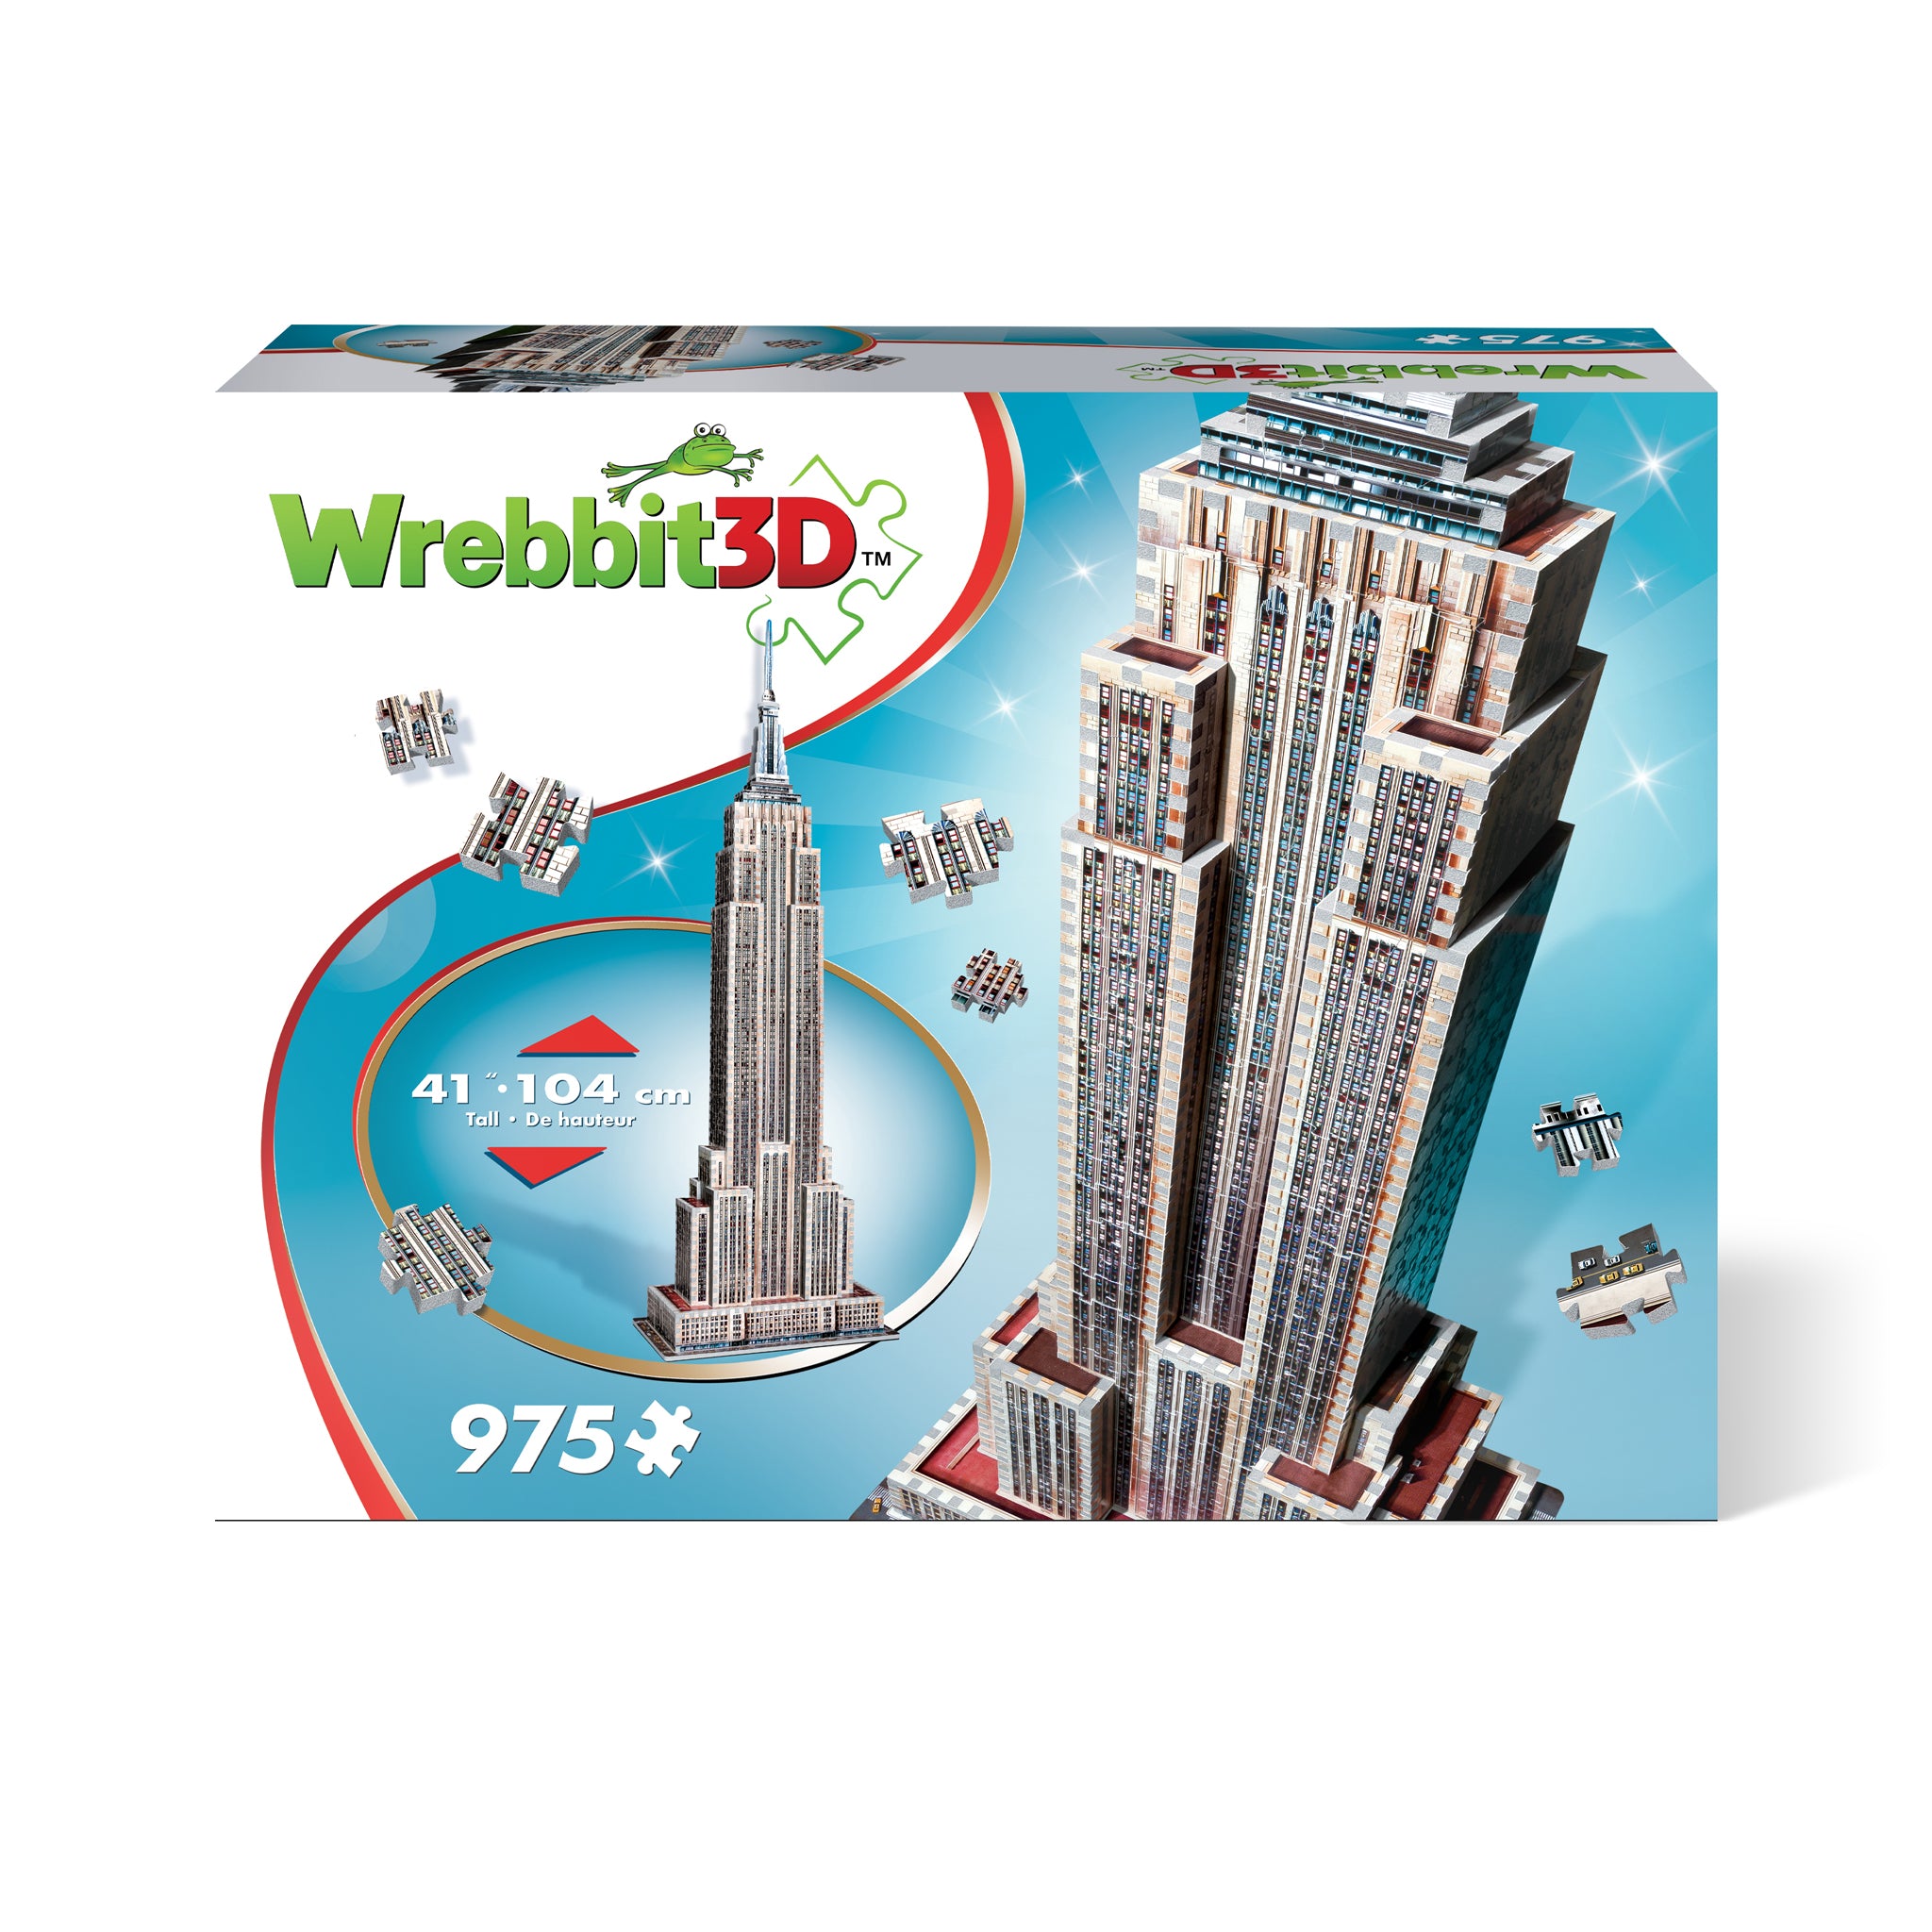
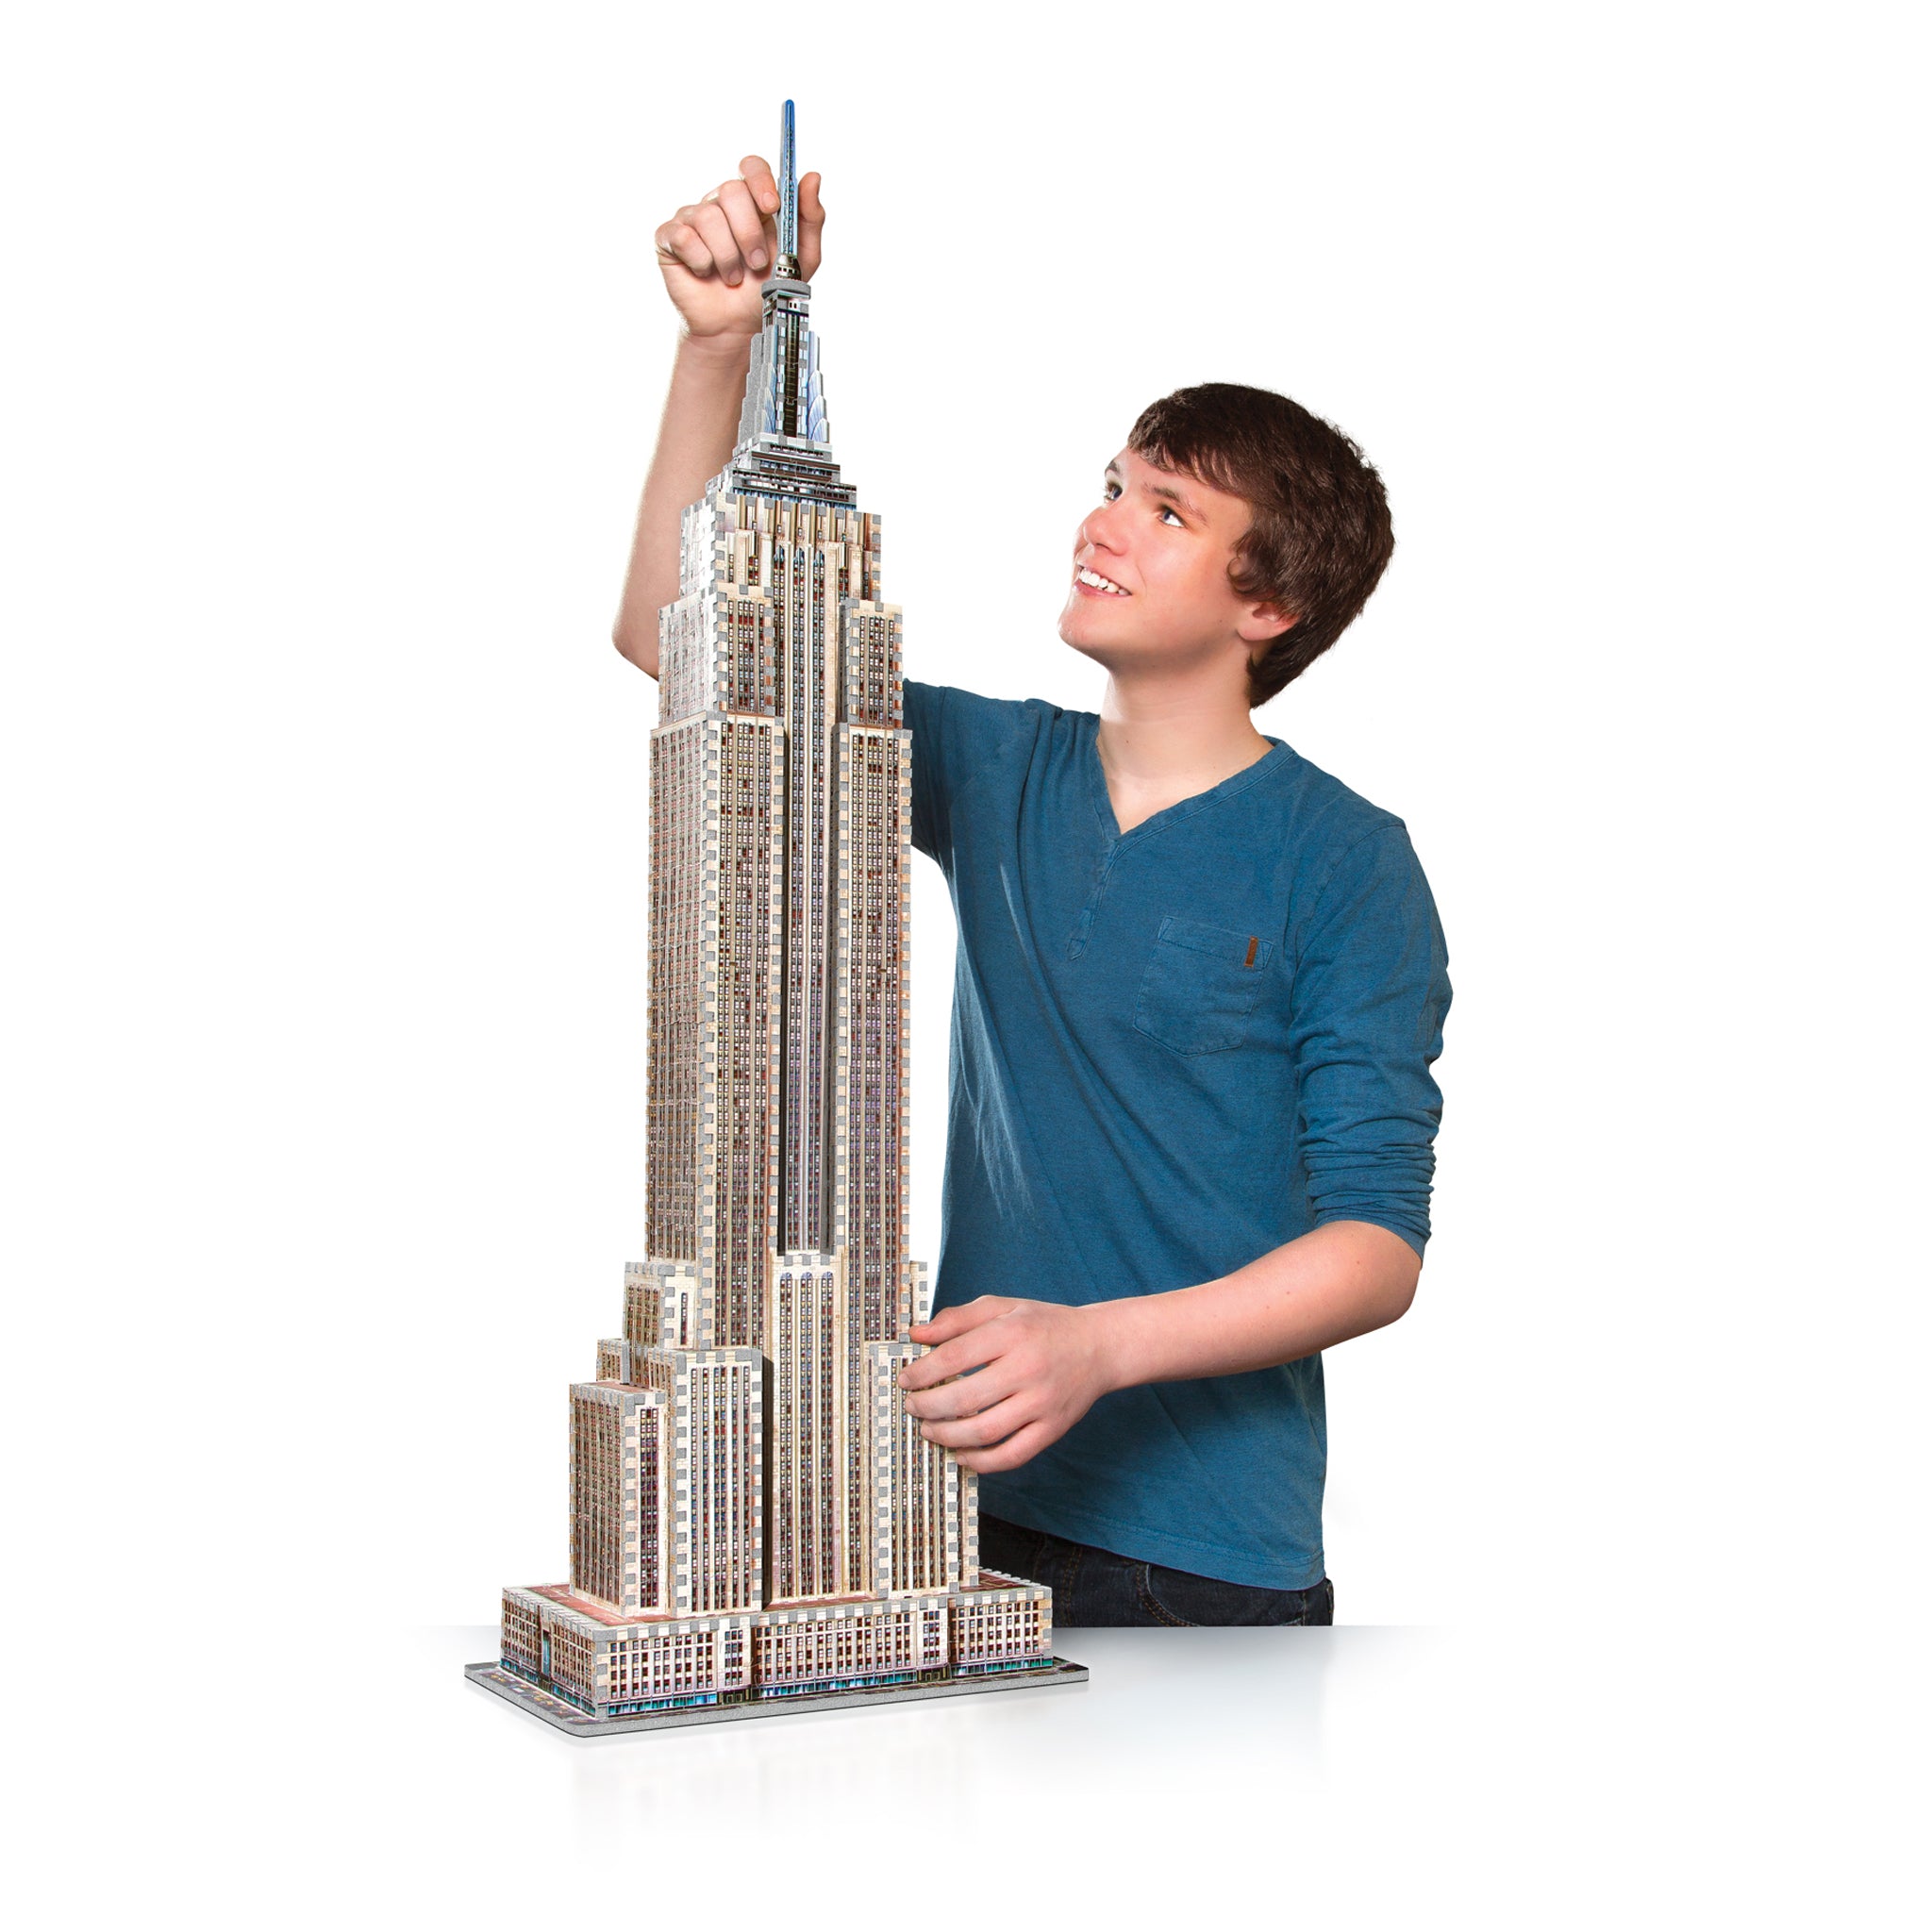
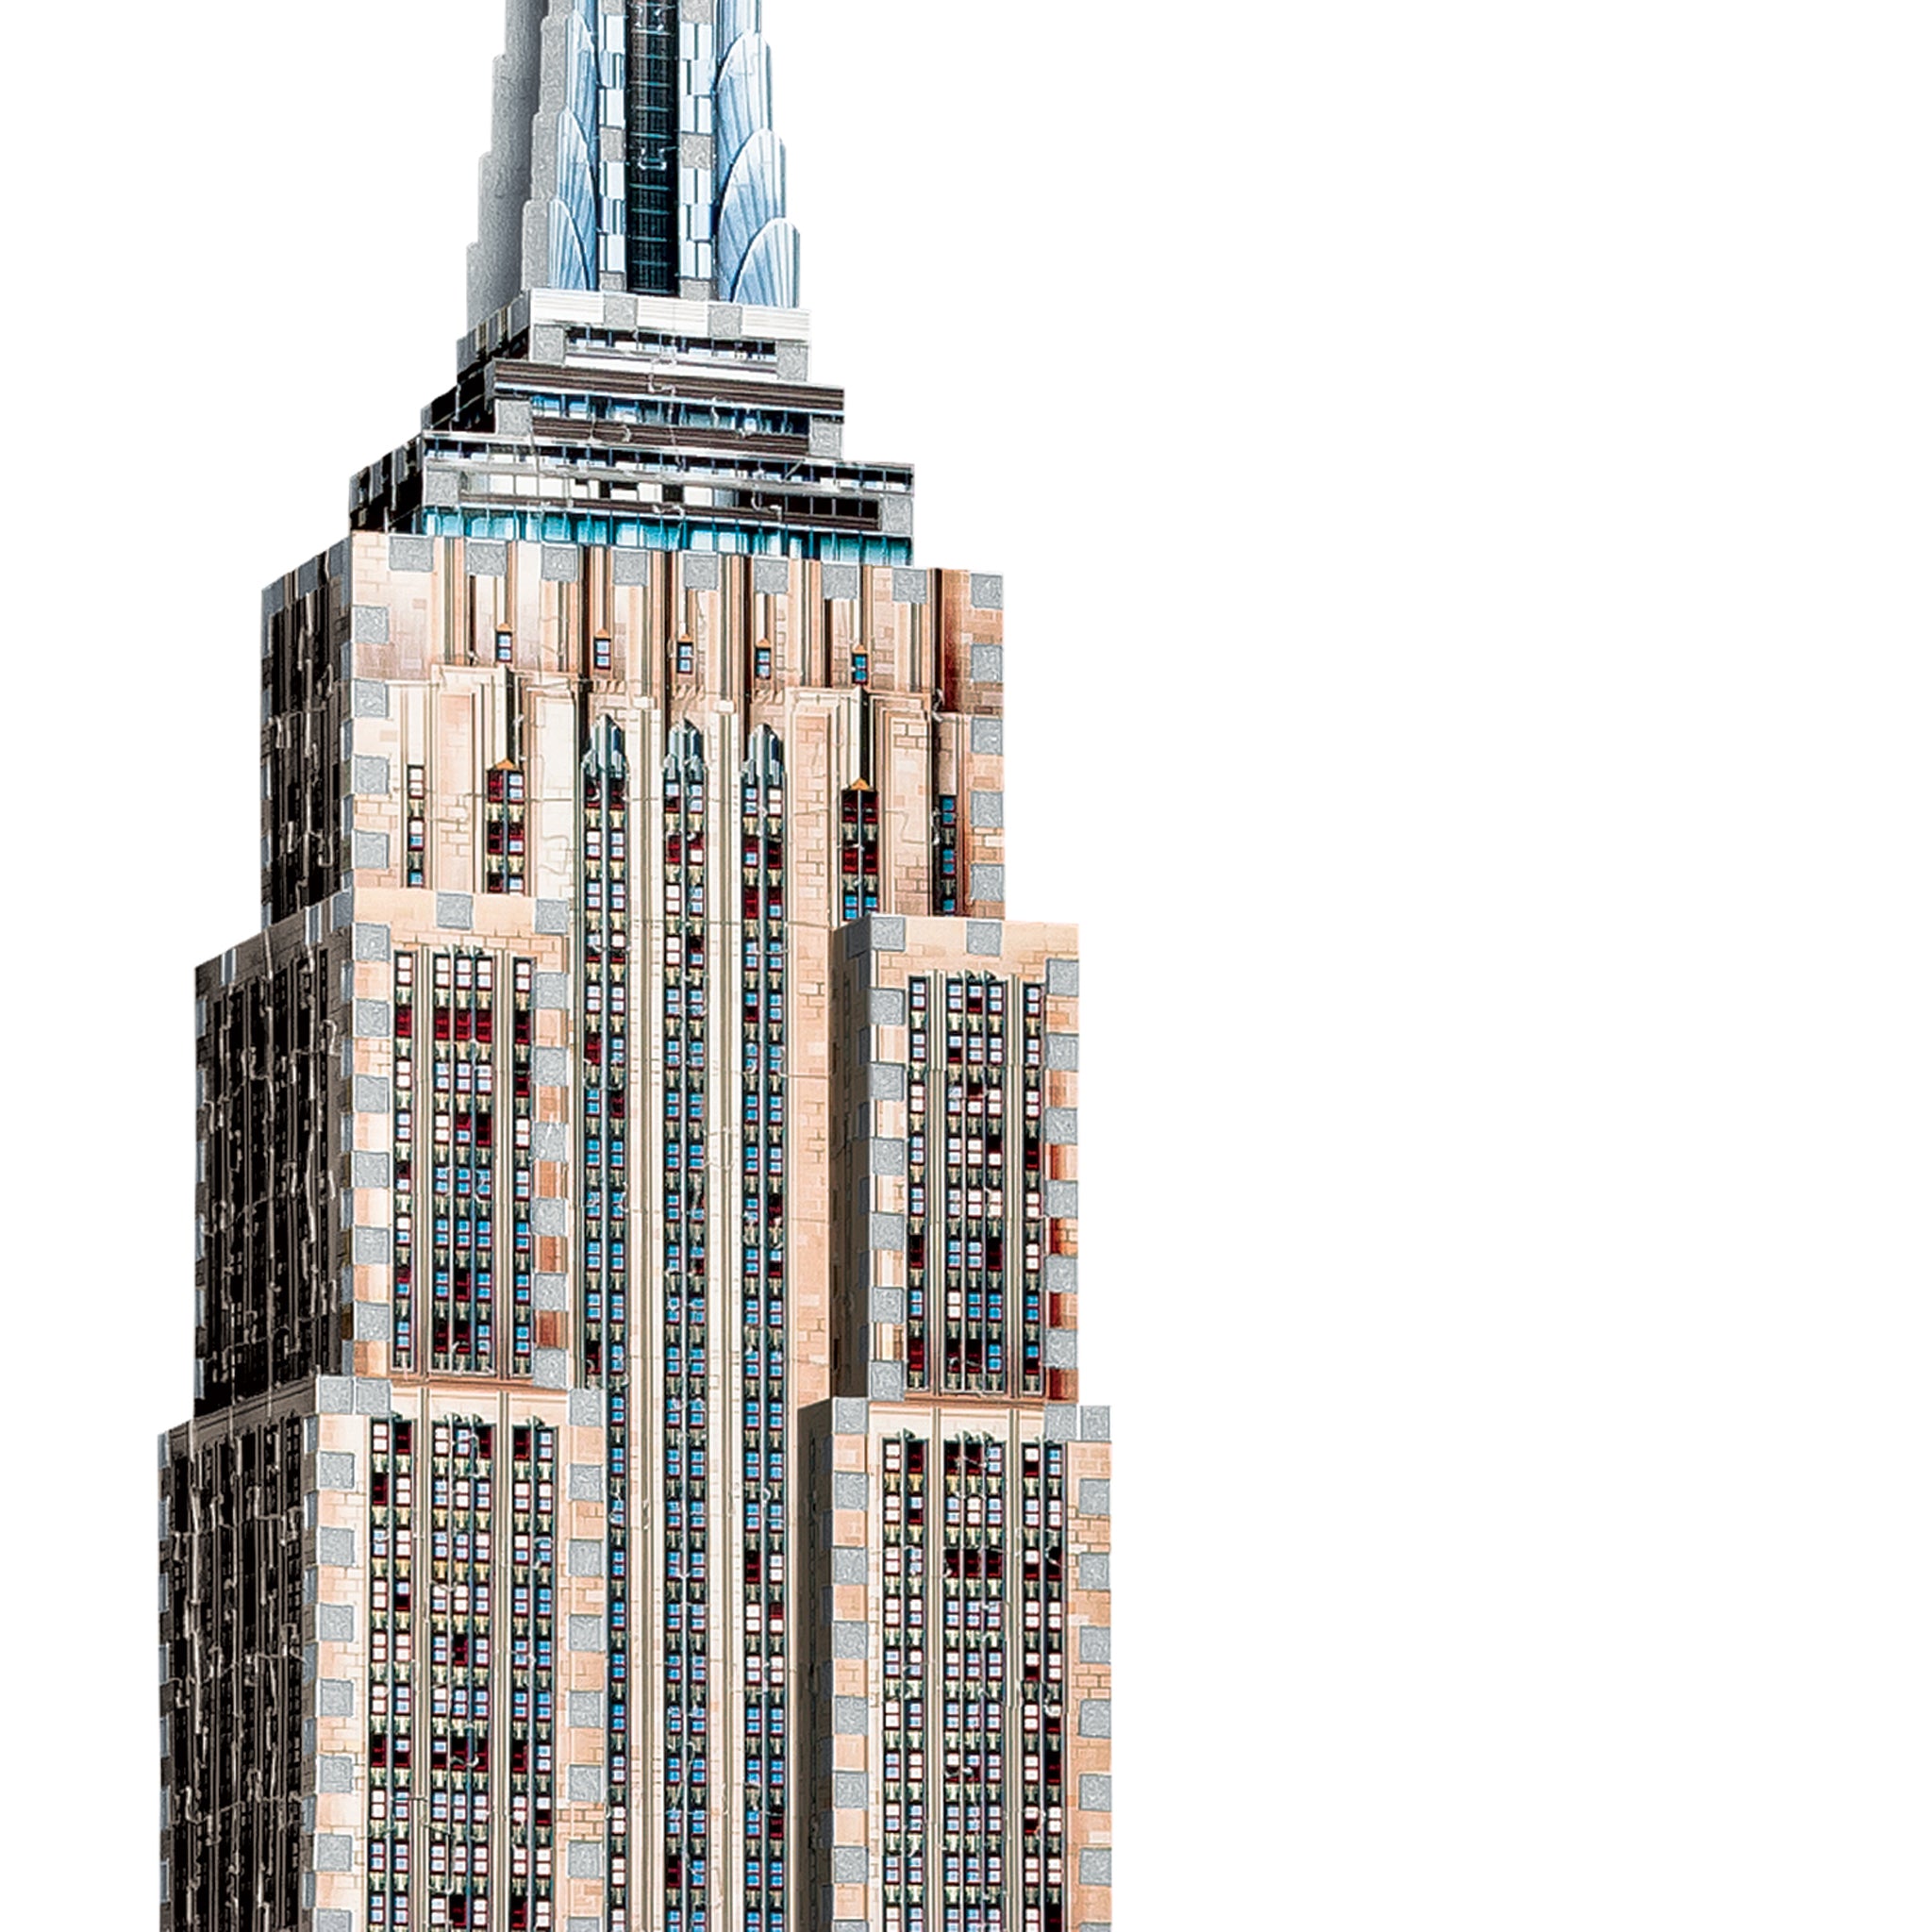
Pay attention to the details on the illustration. They can reveal surprising hints and welcomed clues that will help you sort your pieces and assemble them. For example, the Empire State Building is mainly made out of windows. While a realistic depiction of the famous New York skyscraper, it can be daunting even for an experienced puzzler. So, we added two different hues (sky blue and sunset pink) in the windows to help you to… that’s right… sort them.

6- Orientation (extra tip)
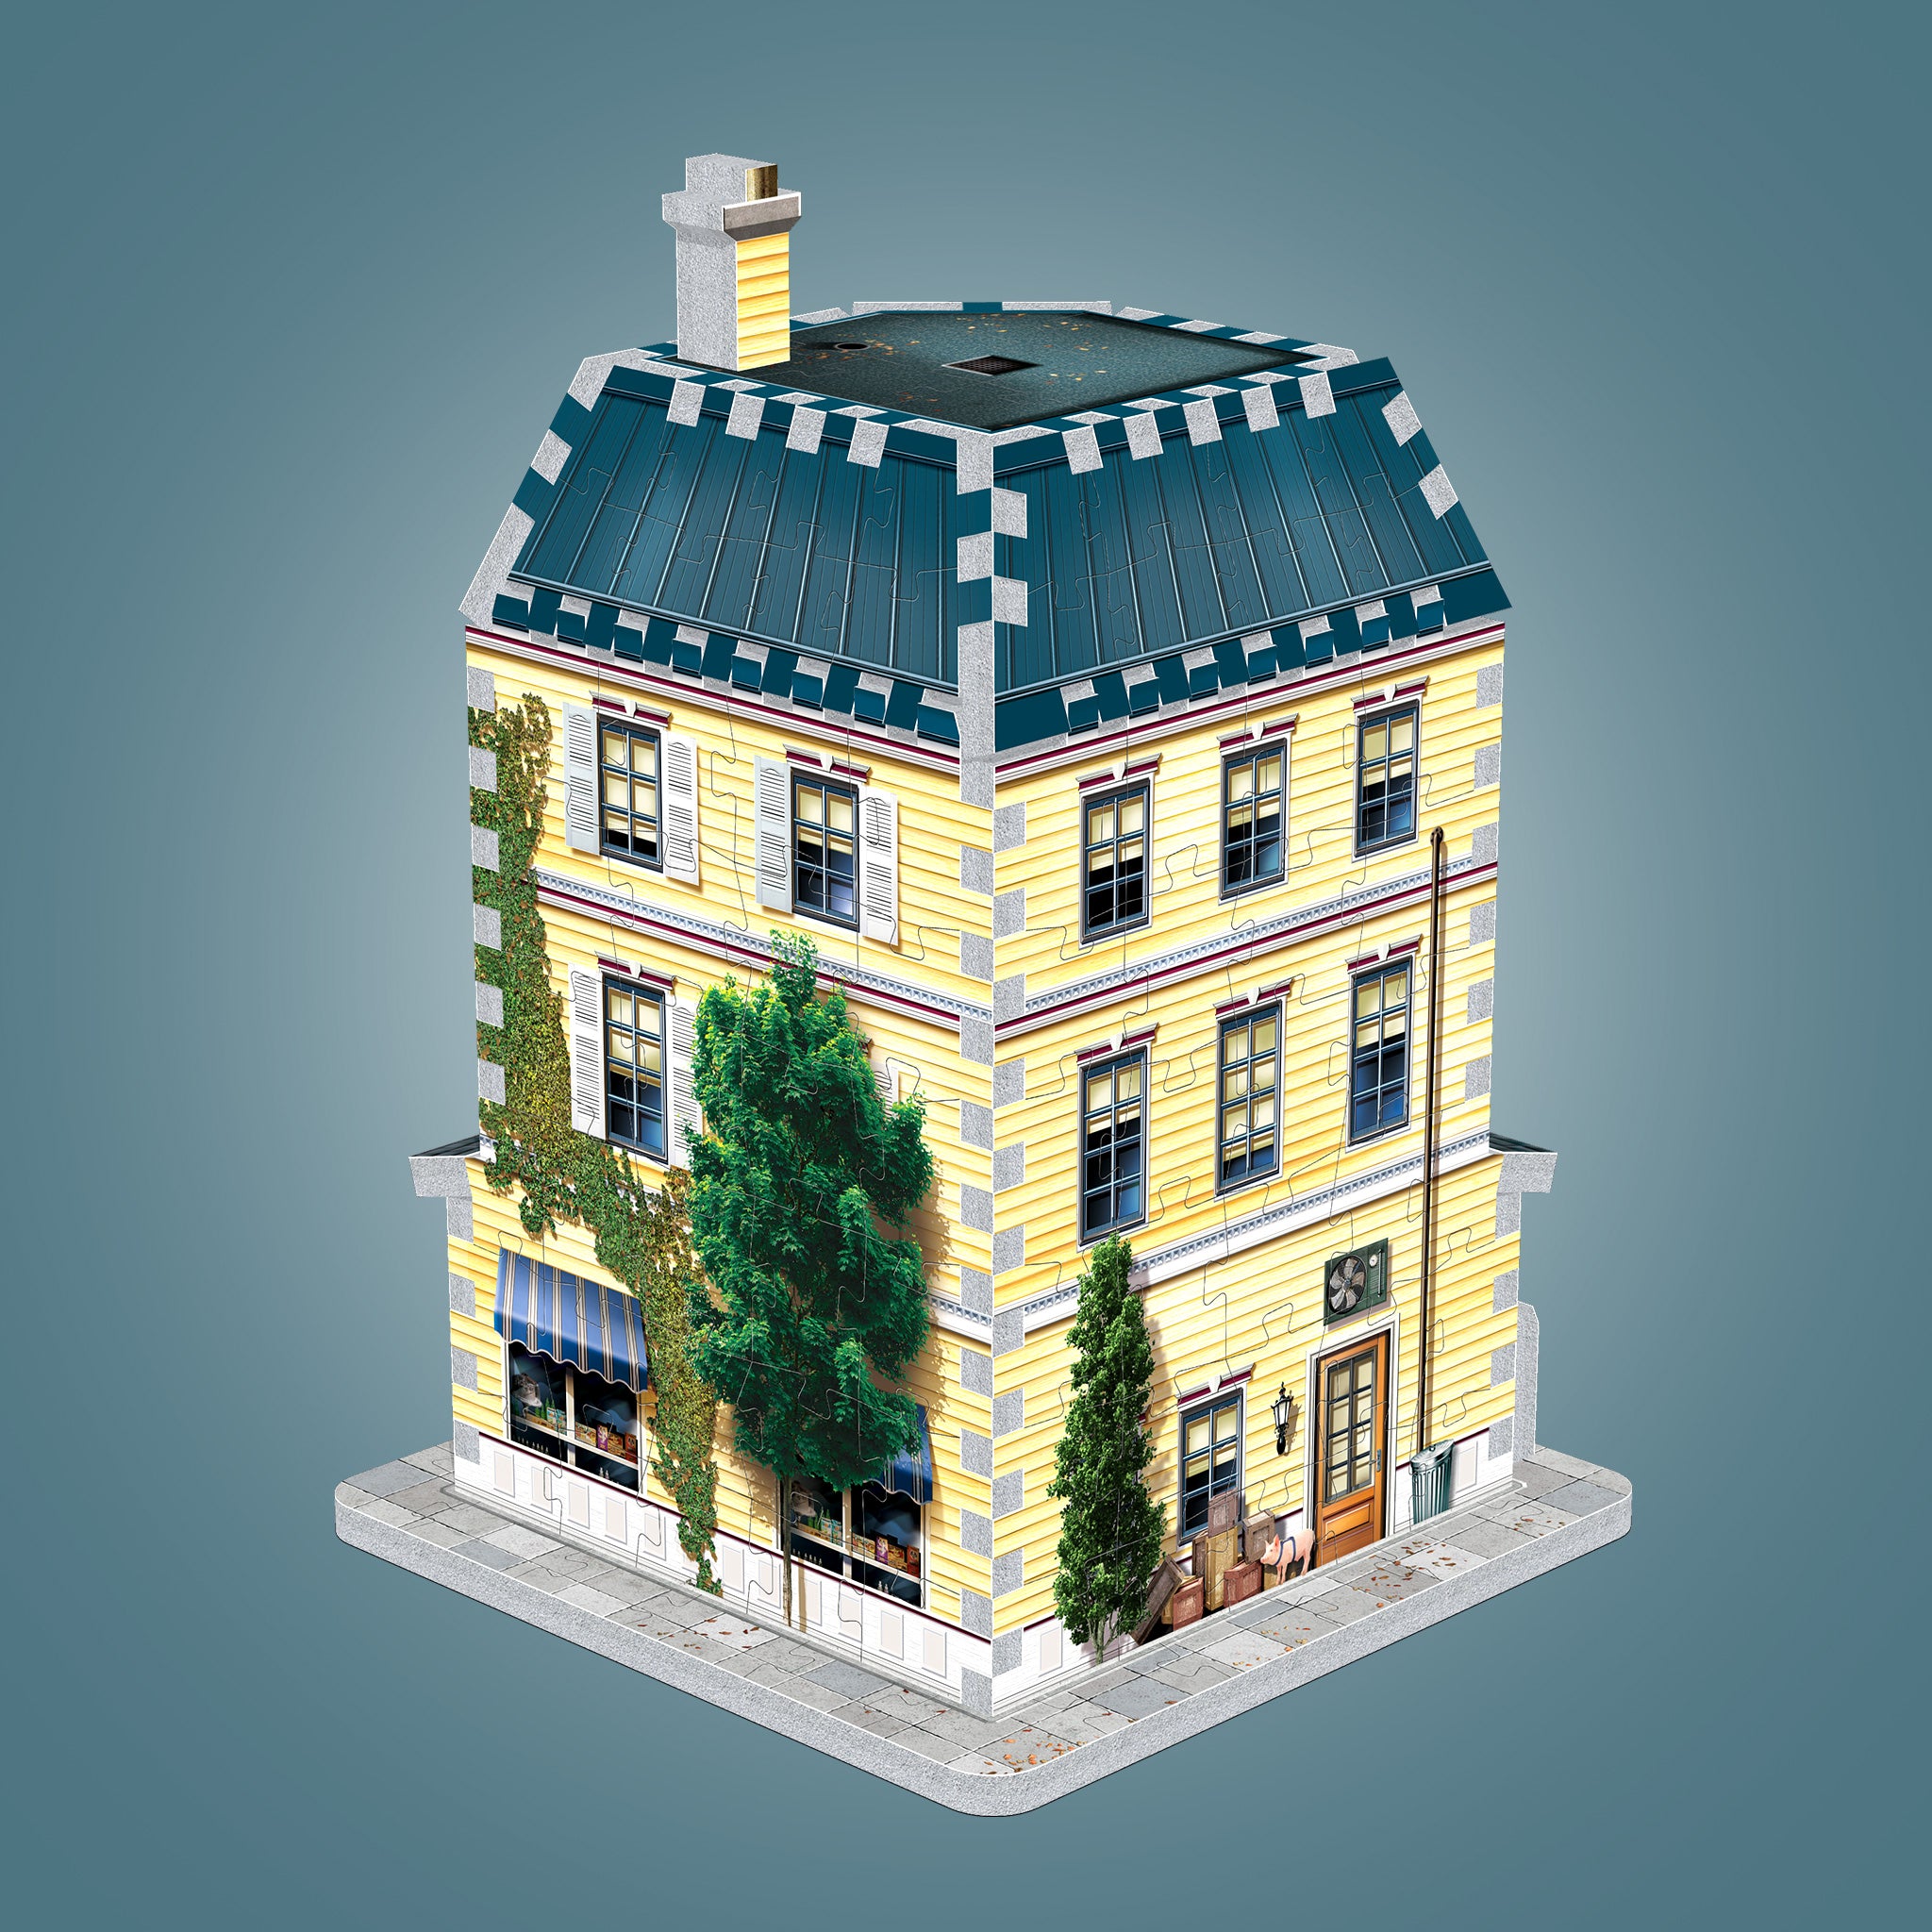
This is more of an advice than an absolute must, but try to be mindful of the orientation of your puzzle pieces in your workspace. For example, window pieces should show curtains going downwards, not upwards. The brick wall pieces with a vine creeping up should all have their tenons and mortises on the same side. This will make it easier for you to associate details and, in the end, pieces together.
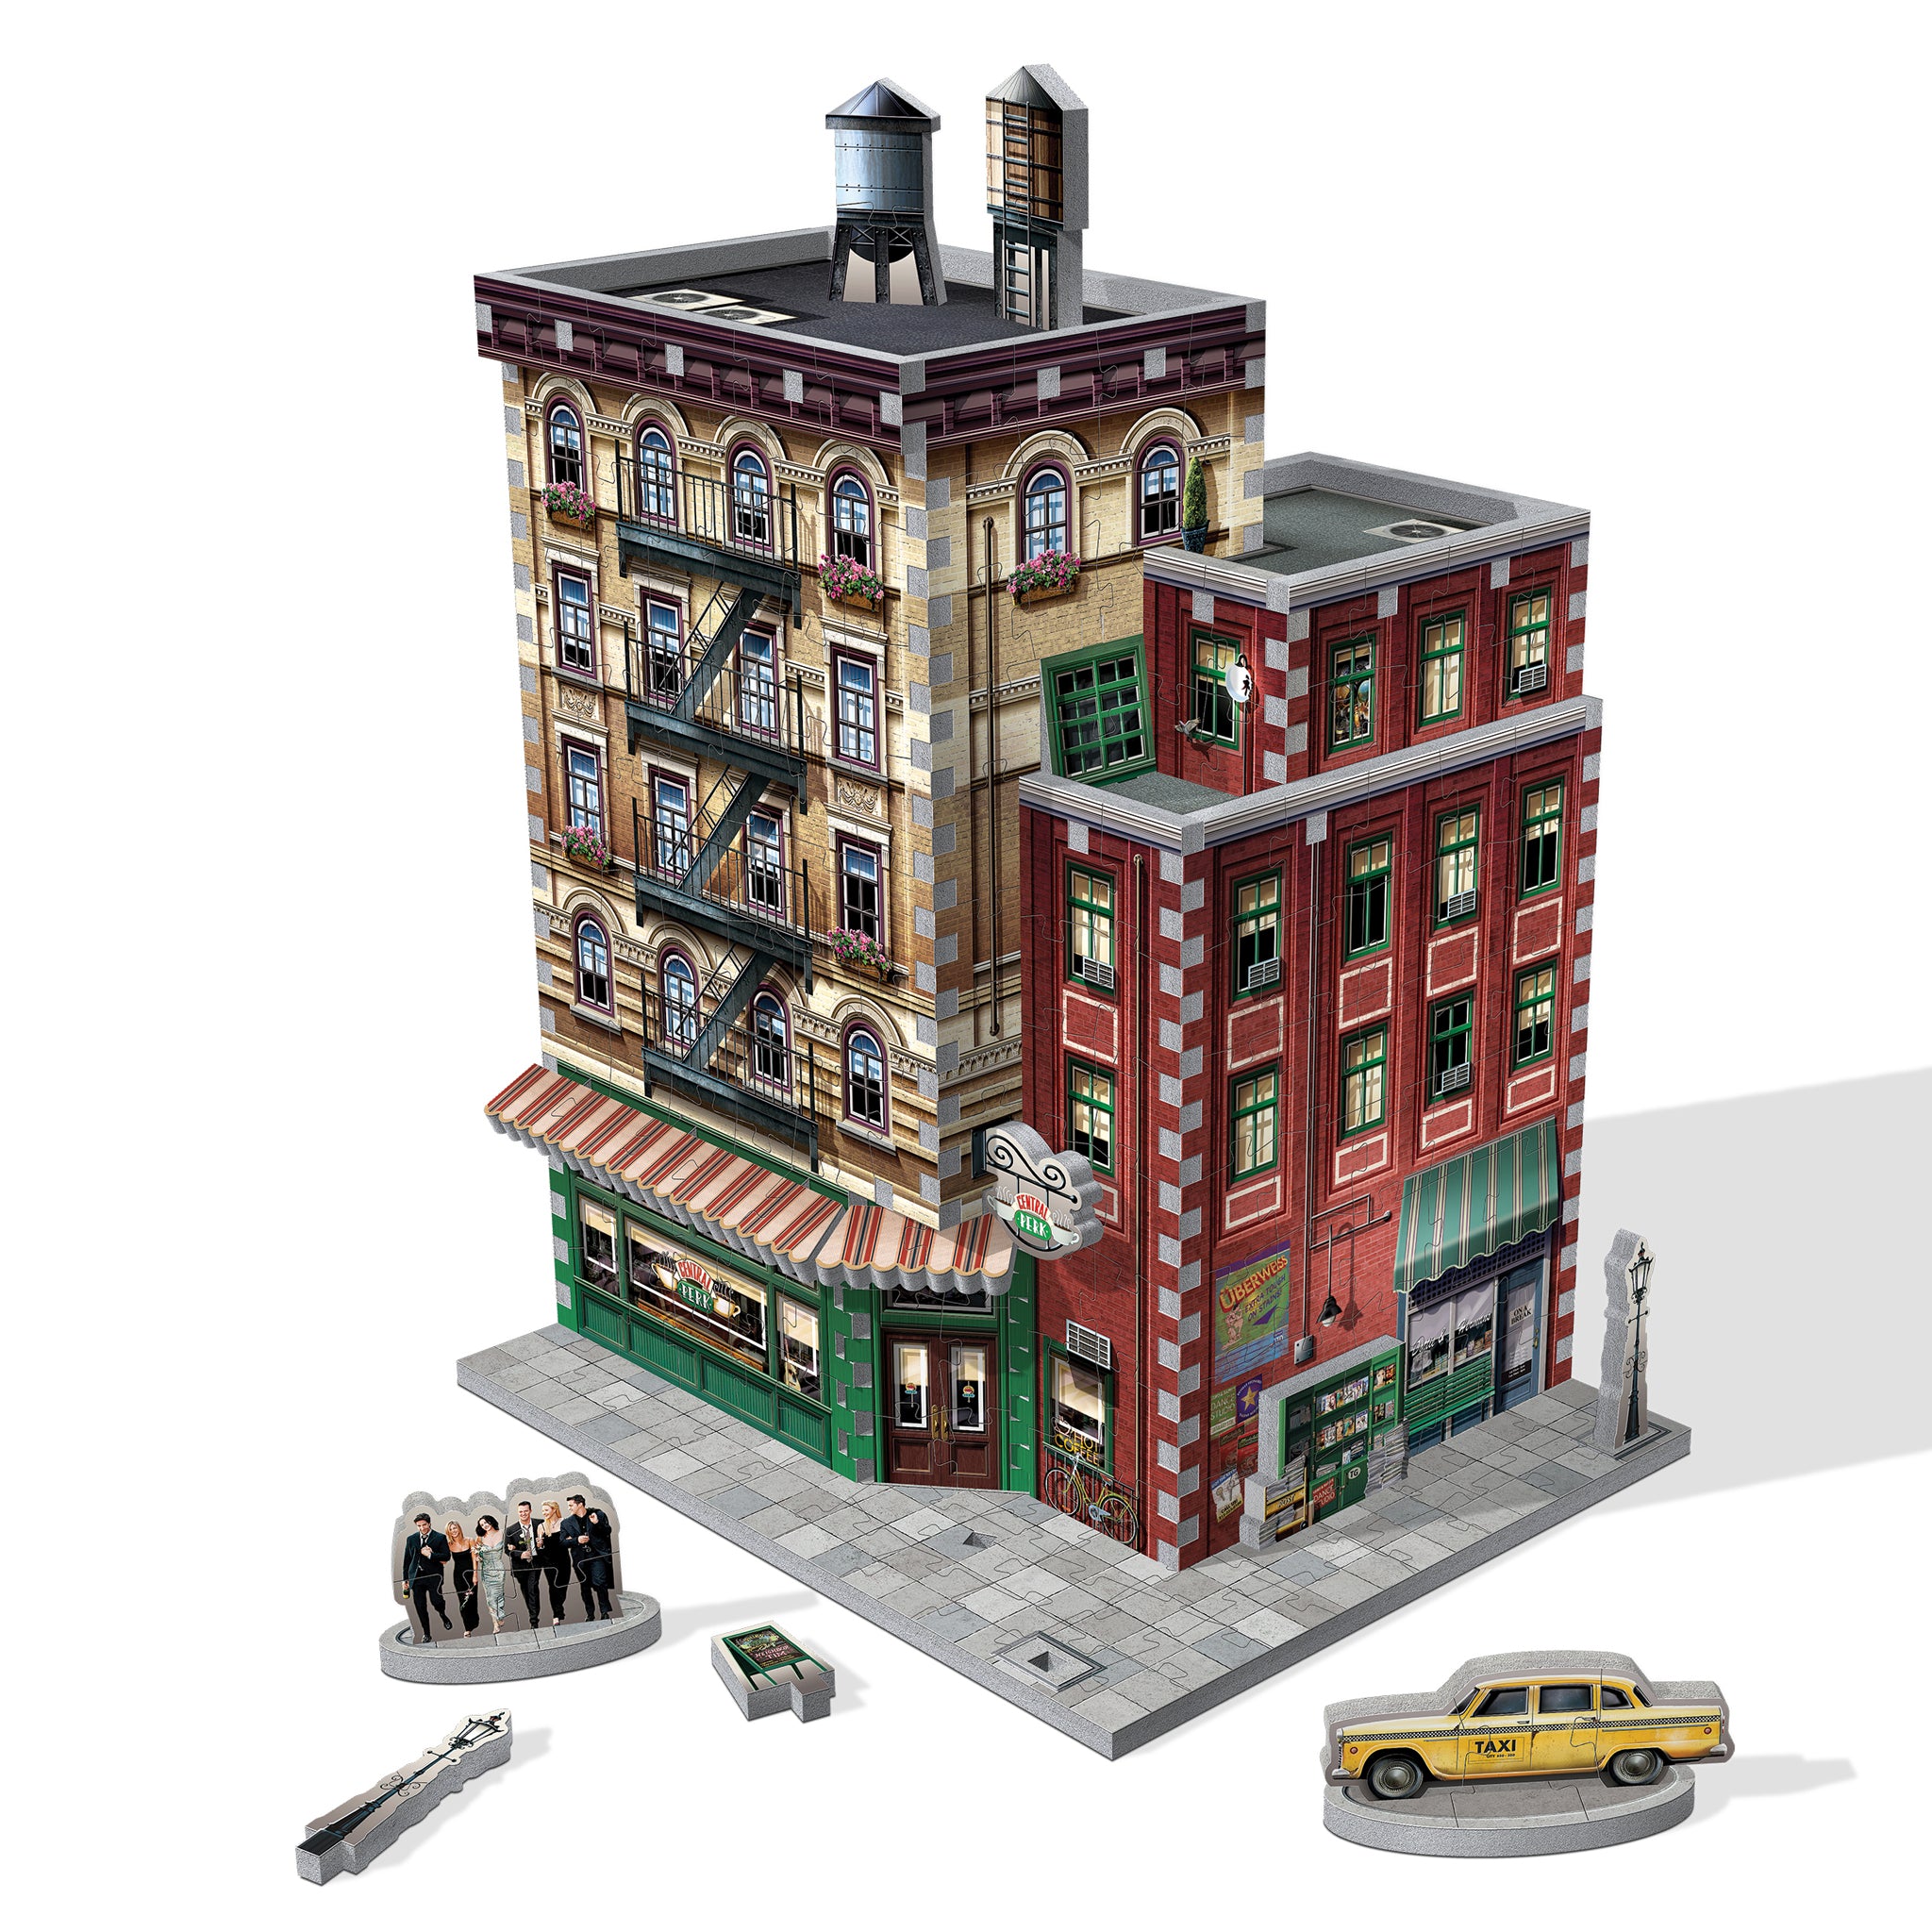
7- What about the red dotted pieces? (more information)
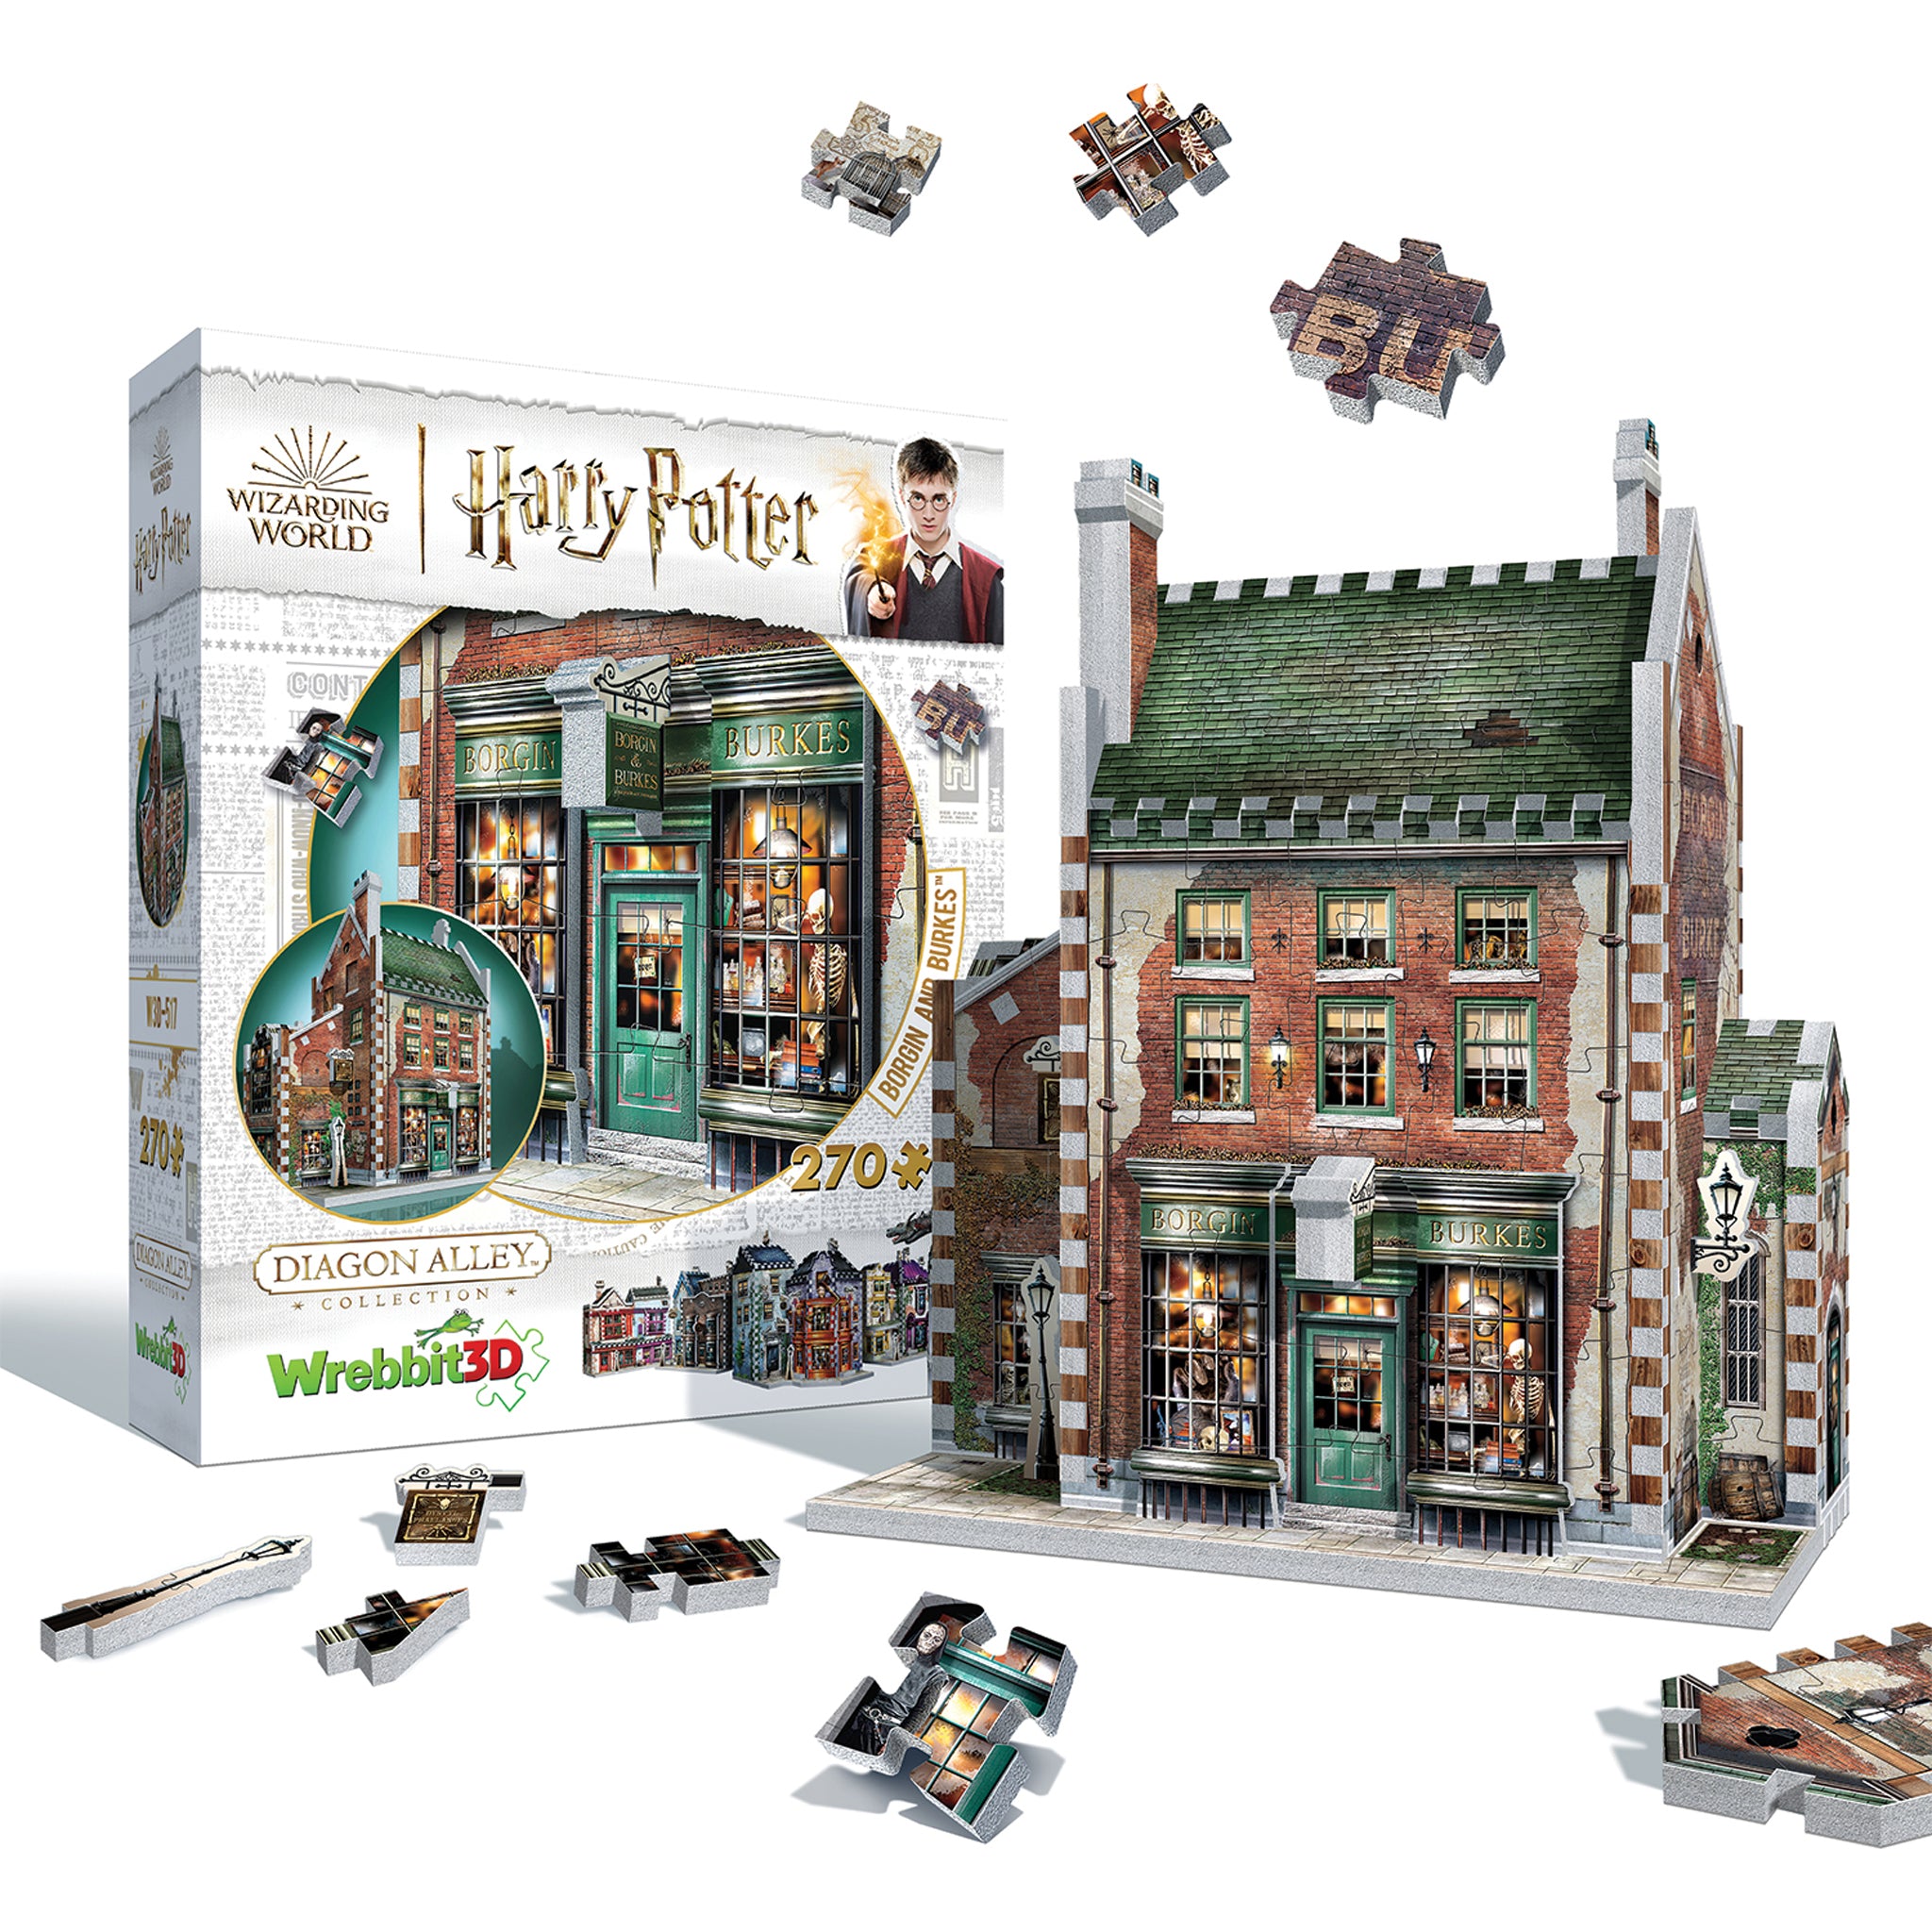
Although the red dotted pieces aren’t part of your final puzzle, they still play an essential role in the manufacturing process. They are what makes it possible to have a 3D puzzle, holding the pieces together just like wooden forms would during pouring concrete. During the sorting process, organize the red dotted pieces into their own category, keeping a sharp eye out: some good pieces might have a removable red dotted part that is sticking to it! Keep them aside until the end of your build so you can double-check in the case you’d be missing a puzzle piece. Don’t worry; sorting mistakes can happen, even for the best of us!
You now have a range of tips and tricks to help you out. No need to follow them all at once. The idea is to try to remember a few and slowly but steadily integrate them into your workflow. Remember… practice makes perfect. The more you sort, the quicker and smoother the whole process will become, almost second nature and you’ll be assembling in no time.
Happy puzzling!